
This vanity is perfect for any small powder room where space is limited but you don't want the design to be limited.
 Difficulty : Moderate
Materials :
Wood Products
- Plywood (1) – 3/4" Thick, 4' x 8' Sheet → 19 mm x 1219 mm x 2438 mm
- Maple Boards (2) – 1"x4", 8' → 25 mm x 102 mm x 2438 mm
- Maple Board (1) – 1"x8", 2' → 25 mm x 203 mm x 610 mm
- Red Oak Glue Up Board (1) – 3/4" Thick, 2' x 3' → 19 mm x 610 mm x 914 mm
- Decorative Trim (1) – 1", 8' → 25 mm x 2438 mm
- Wood Decorative Legs (4) – 3" → 76 mm (height not specified, assumed)
Hardware & Supplies
- Roll of Cane (1)
- Handles for Faux Drawer and Door (2)
- Blum Clip Top 110 Degree Face Frame, Inset Hinge (2 Pack)
- Screws – 2 1/2" (64 mm), 1 1/4" (32 mm)
- Brad Nails – 1 1/2" (38 mm)
- Wood Glue (1)
- Stain/Finish of Choice (1)
- Drop-in Sink (1) – 18"
- Small "L" Shaped Brackets (4) – Optional for Cabinet Shelf
- Trim Tape (1) – Optional for Cabinet Shelf
- Staples (1)
- Silicone (1)
Cut List & Parts
- 2Plywood Cabinet Carcass Side Pieces , 20" x 30.5" → 508 mm x 775 mm
- 1Plywood Cabinet Carcass Bottom , 18.5" x 20" → 470 mm x 508 mm
- 2Plywood Cabinet Carcass Top , 18.5" x 2.5" → 470 mm x 64 mm
- 2Base Pieces Frame , 1"x4"x20" → 25 mm x 102 mm x 508 mm
- 2Base Pieces Frame , 1"x4"x13" → 25 mm x 102 mm x 330 mm
- 2Face Frame Top and Bottom Pieces , 1.5"X 20" → 38 mm x 508 mm
- 2Face Frame Side Pieces , 1.5" x 28 1/4" → 38 mm x 718 mm
- 1Face Frame Middle Piece , 1.5" x 17" → 38 mm x 432 mm
- 2Trim Pieces on Bottom (45 Degree Cuts on one Side) , 21 1/2" → 546 mm
- 1Trim Piece on Bottom (45 Degree Cuts on Both Sides) , 21 1/2" → 546 mm
- 1Oak Wood Vanity Top , 21 1/2" x 21 1/2" → 546 mm x 546 mm
- 1Faux Draw Front , 17" x 6" → 432 mm x 152 mm
- 2Door Stile (Side Pieces) , 2 1/2" x 20 3/4" → 64 mm x 527 mm
- 2Door Rails (Top and Bottom Pieces) , 2 1/2" x 12" → 64 mm x 305 mm
- 1Plywood Cabinet Shelf (Optional) , 18.5"x20" → 470 mm x 508 mm
- 1Wood Back Splash Piece (Optional) , 2.5" x 21 1/2" → 64 mm x 546 mm
Directions
1- Cutting Cabinet Carcass Pieces
-
The cabinet carcass is the bare box that makes up a cabinet before trim is added.
-Cut 2 pieces of plywood 30.5" x 20" (Side Pieces) → 775 mm x 508 mm
-Cut 1 piece of plywood 18.5" x 20" (Bottom Piece) → 470 mm x 508 mm
-Cut 2 pieces of plywood 18.5" x 2.5" (Top Pieces) → 470 mm x 64 mm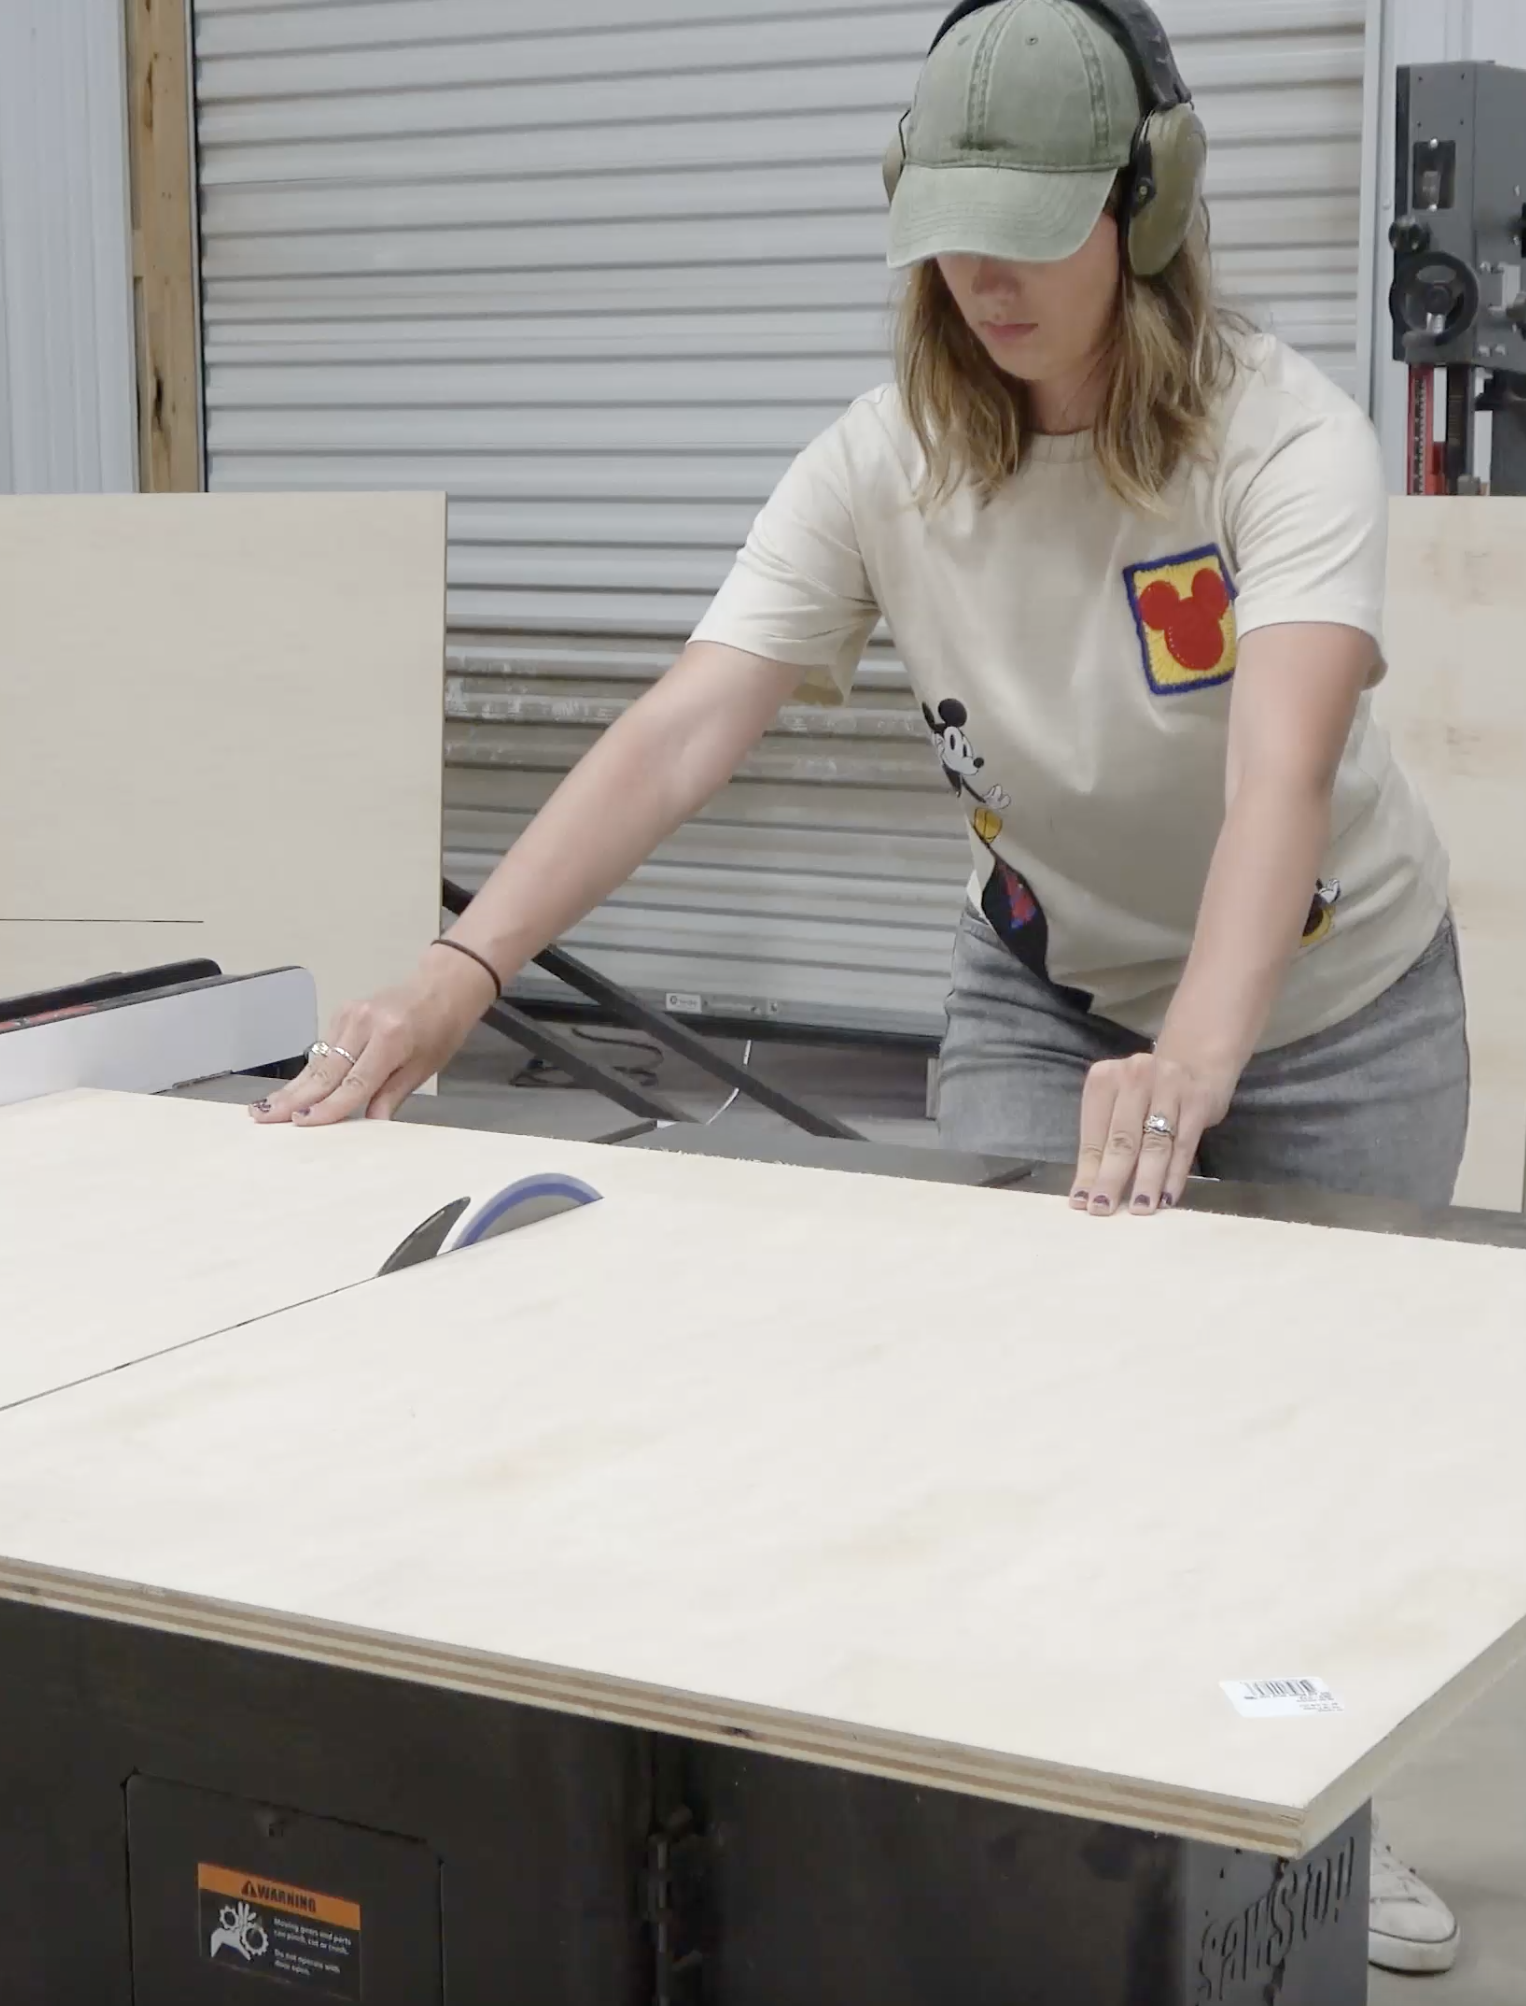 2- Building Cabinet Carcass
-Drill 5 pocket holes on each side of the bottom piece (20" sides)
-Use pocket holes with pocket hole screws and wood glue to attach the side pieces
-Drill 2 pocket holes on each end of the top pieces
-Use those pocket holes with pocket hole screws and wood glue to attach the pieces to the sides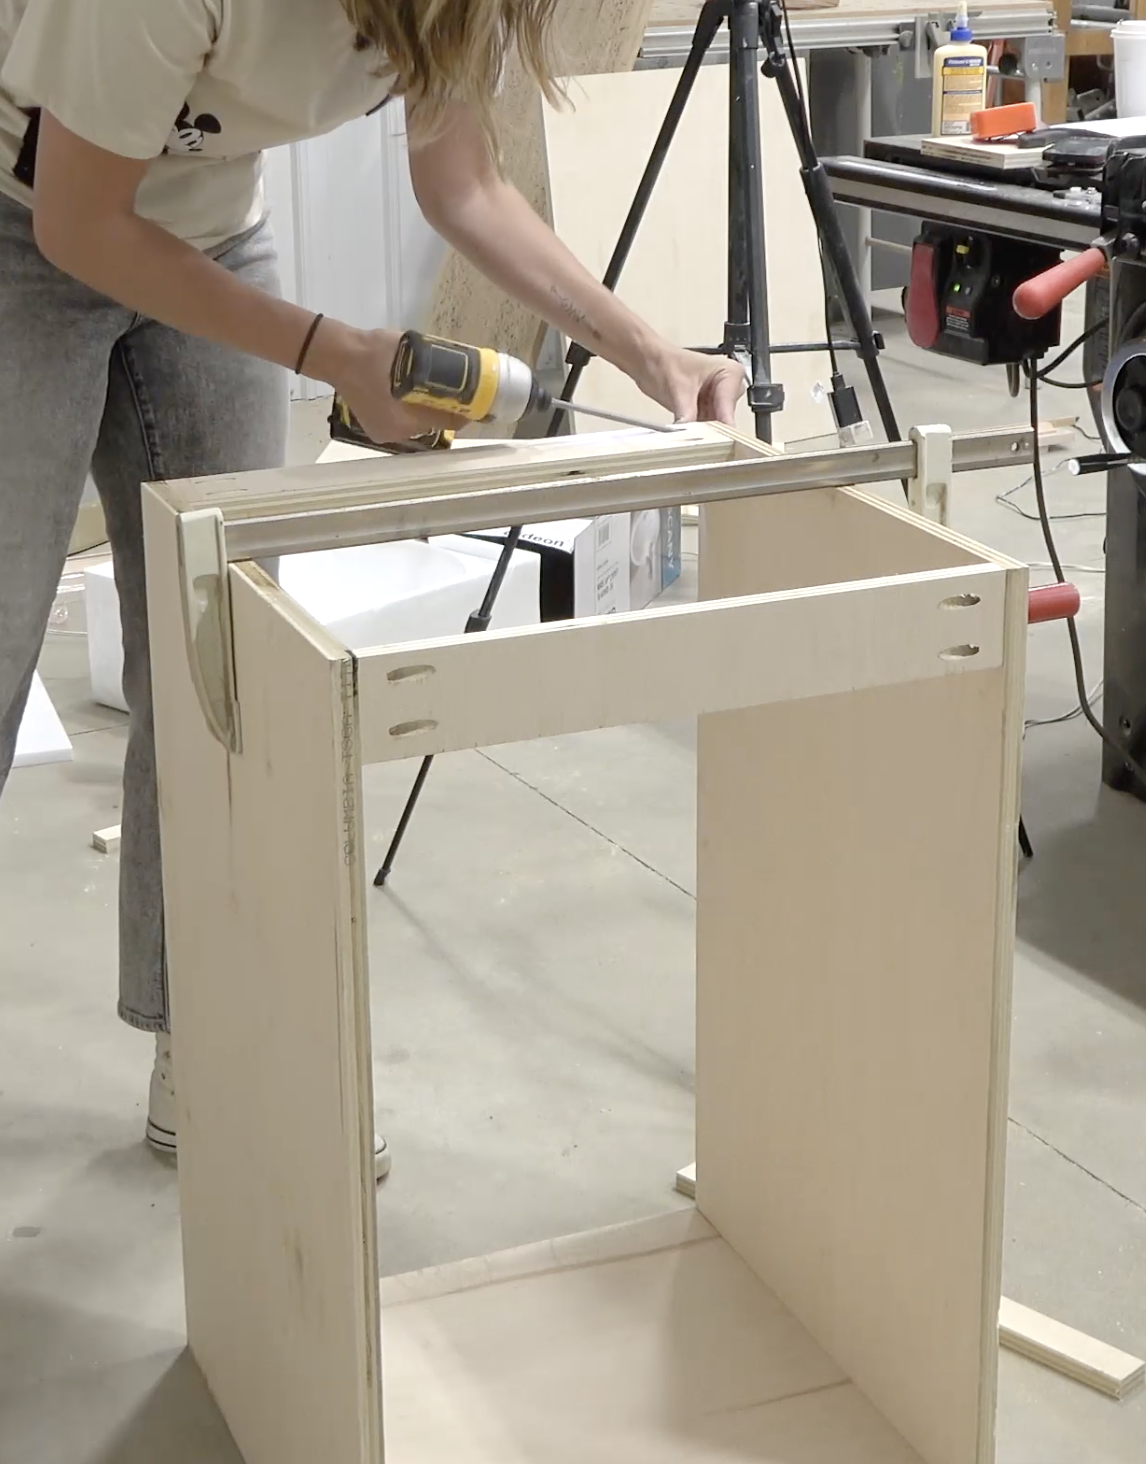
3 - Building Base
-Use 1x4 and cut 2 pieces at 20"
-Use 1x4 and cut 2 pieces at 13"
-Drill 2 pockets holes on each end of the 13" pieces
-Use pocket holes with pocket hole screws and glue to put frame together
-Use 2 1/2" screws to attach 4 decorative legs to base
-Use 1 1/4" screws to attach base to cabinet carcassMaking sure legs show
Put the front legs slightly off base so they don't get covered up after adding trim pieces
4 - Cutting Down Face Framing Pieces
-Use table saw to rip 1x4 into 1 1/2" thick pieces for face framing pieces
-Take the new 1 1/2" thick pieces and use miter saw to cut down face framing pieces
-2 pieces at 20"
-2 pieces at 28 1/4"
-1 piece at 17"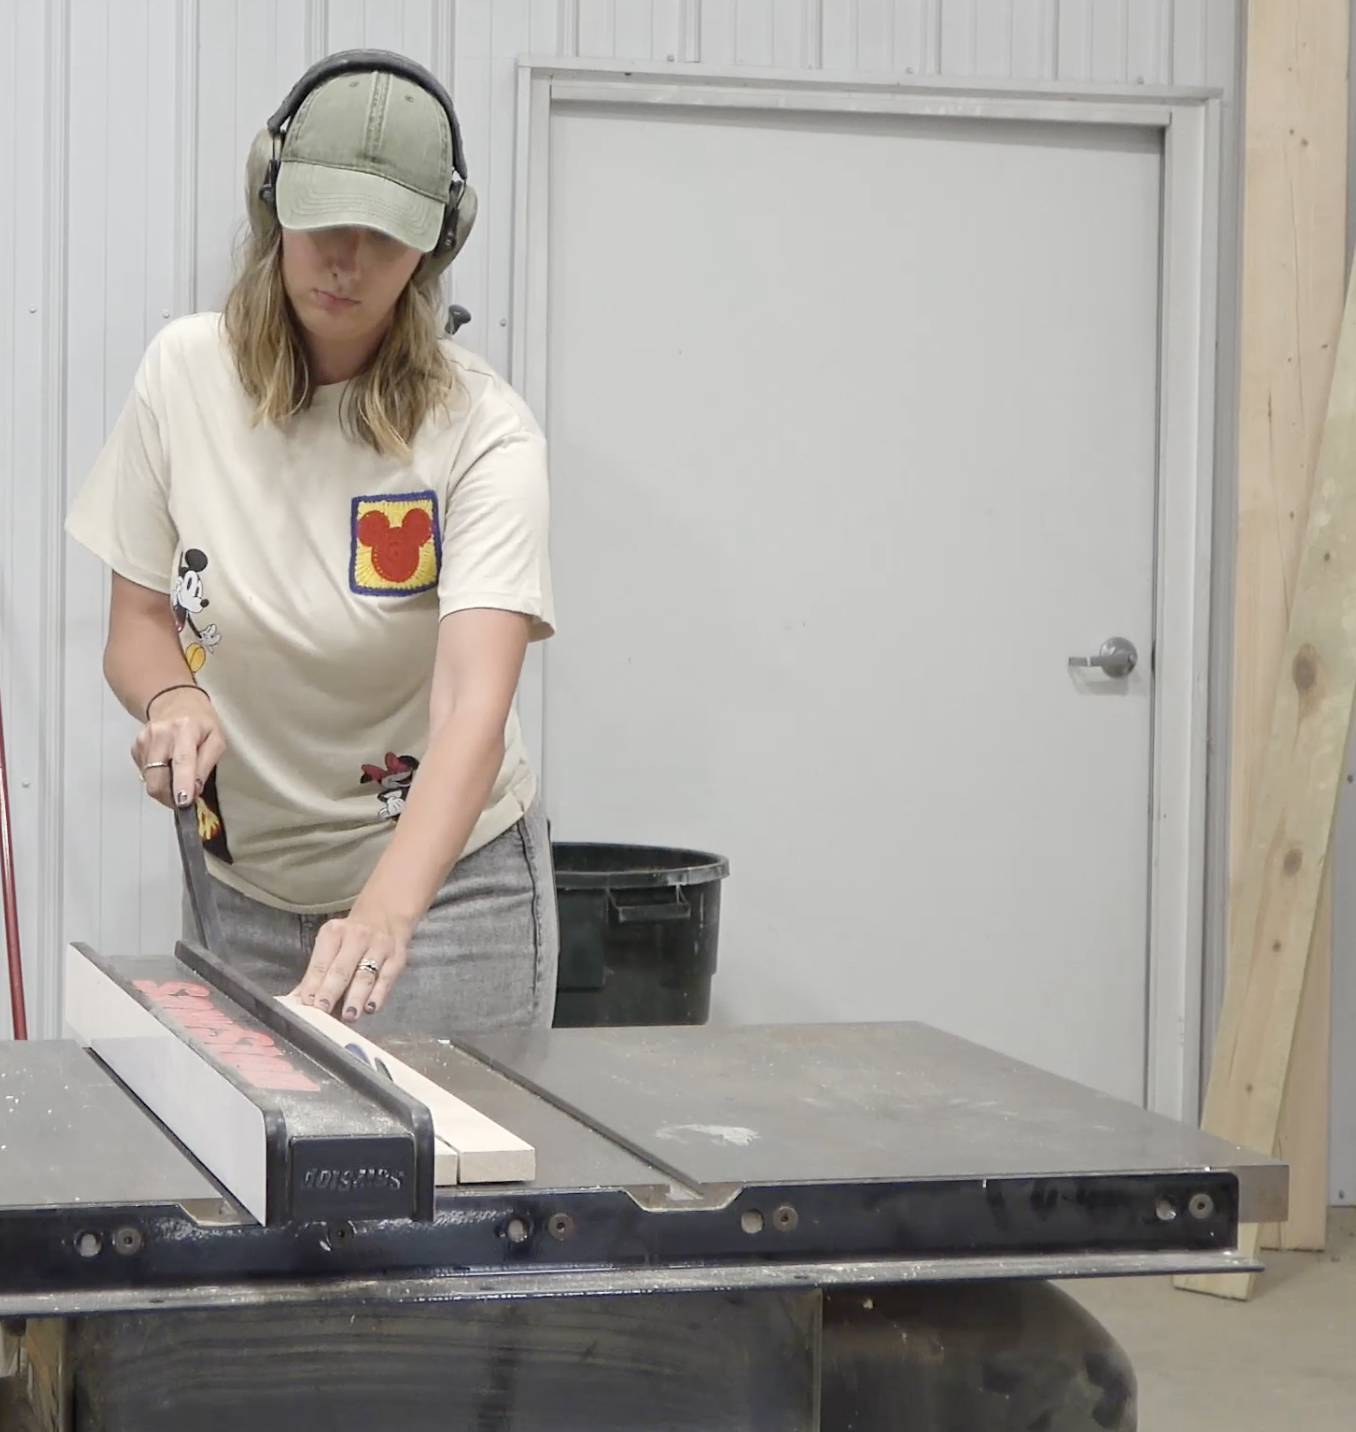
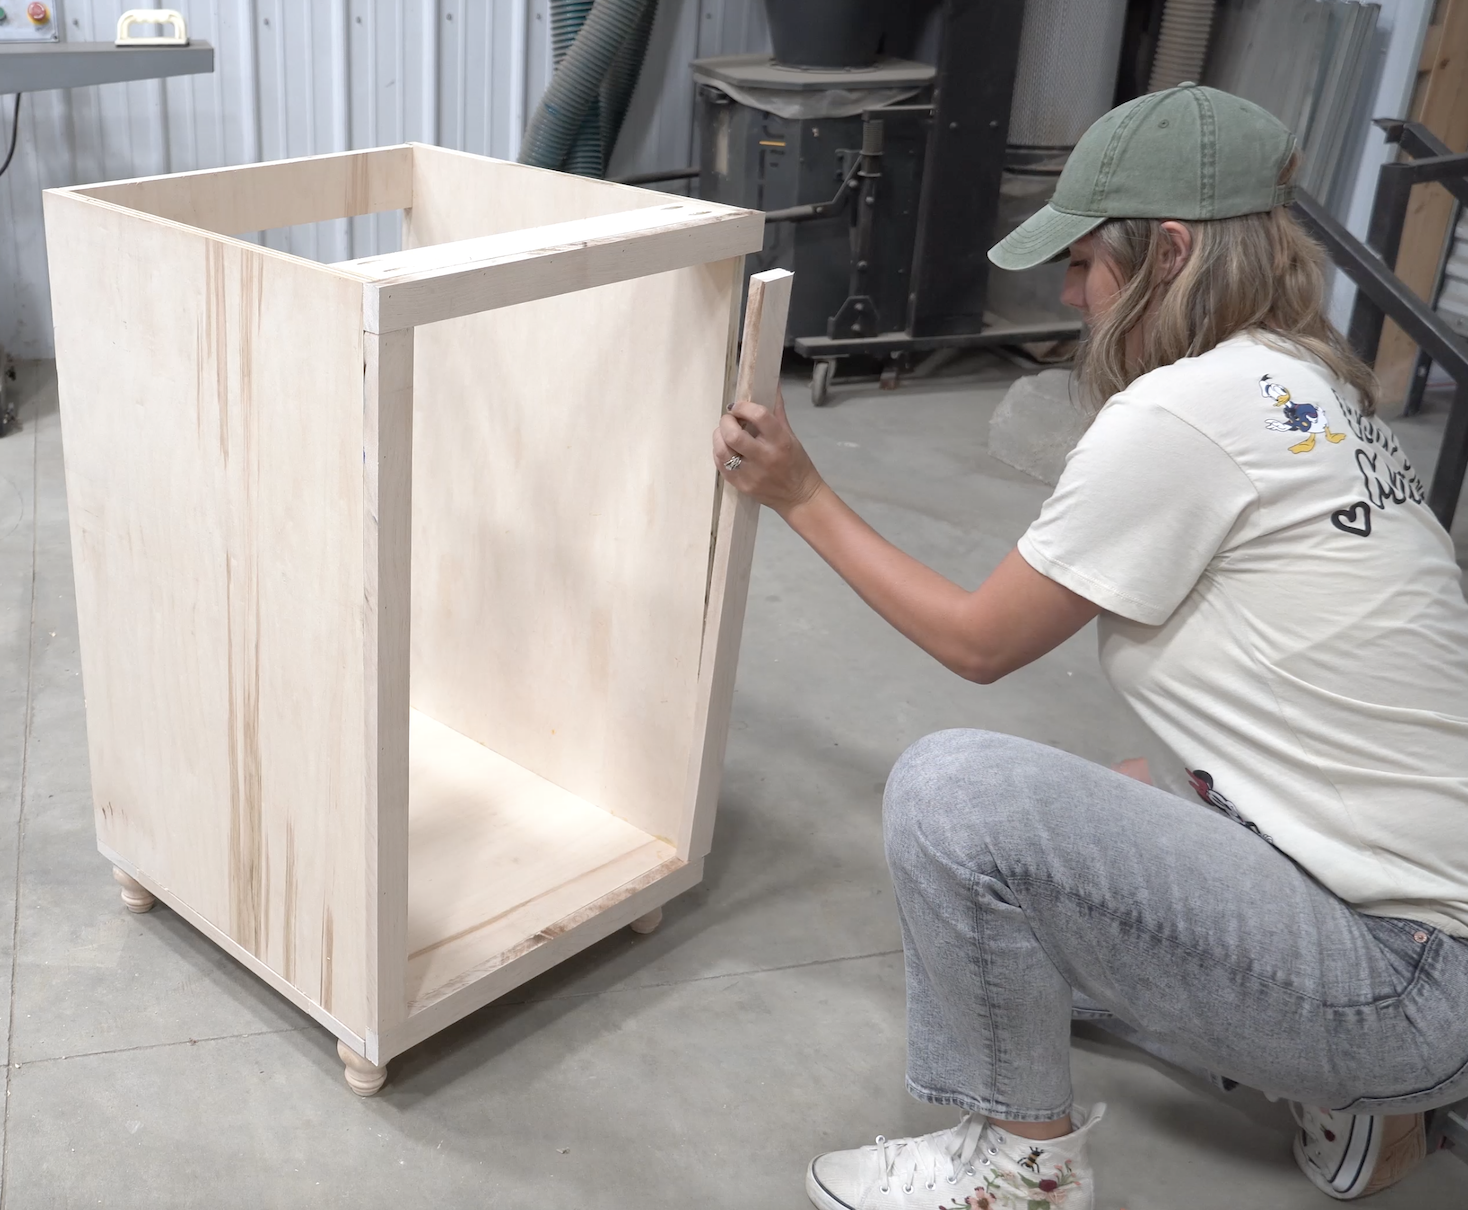
5 - Adding Face Framing Pieces
These pieces cover up the plywood edge and give the cabinet a finished look.
-Use a nail gun to attached face framing pieces to outer edge of cabinet carcass.
6 - Adding Middle Trim Piece
This piece breaks up the cabinet space for a faux drawer and cabinet door
- Drill one pocket hole on each end of the 17" long piece
-Measure 7 1/2" down from top and use pocket holes with pocket hole screws and wood glue to attach piece to side face framing pieces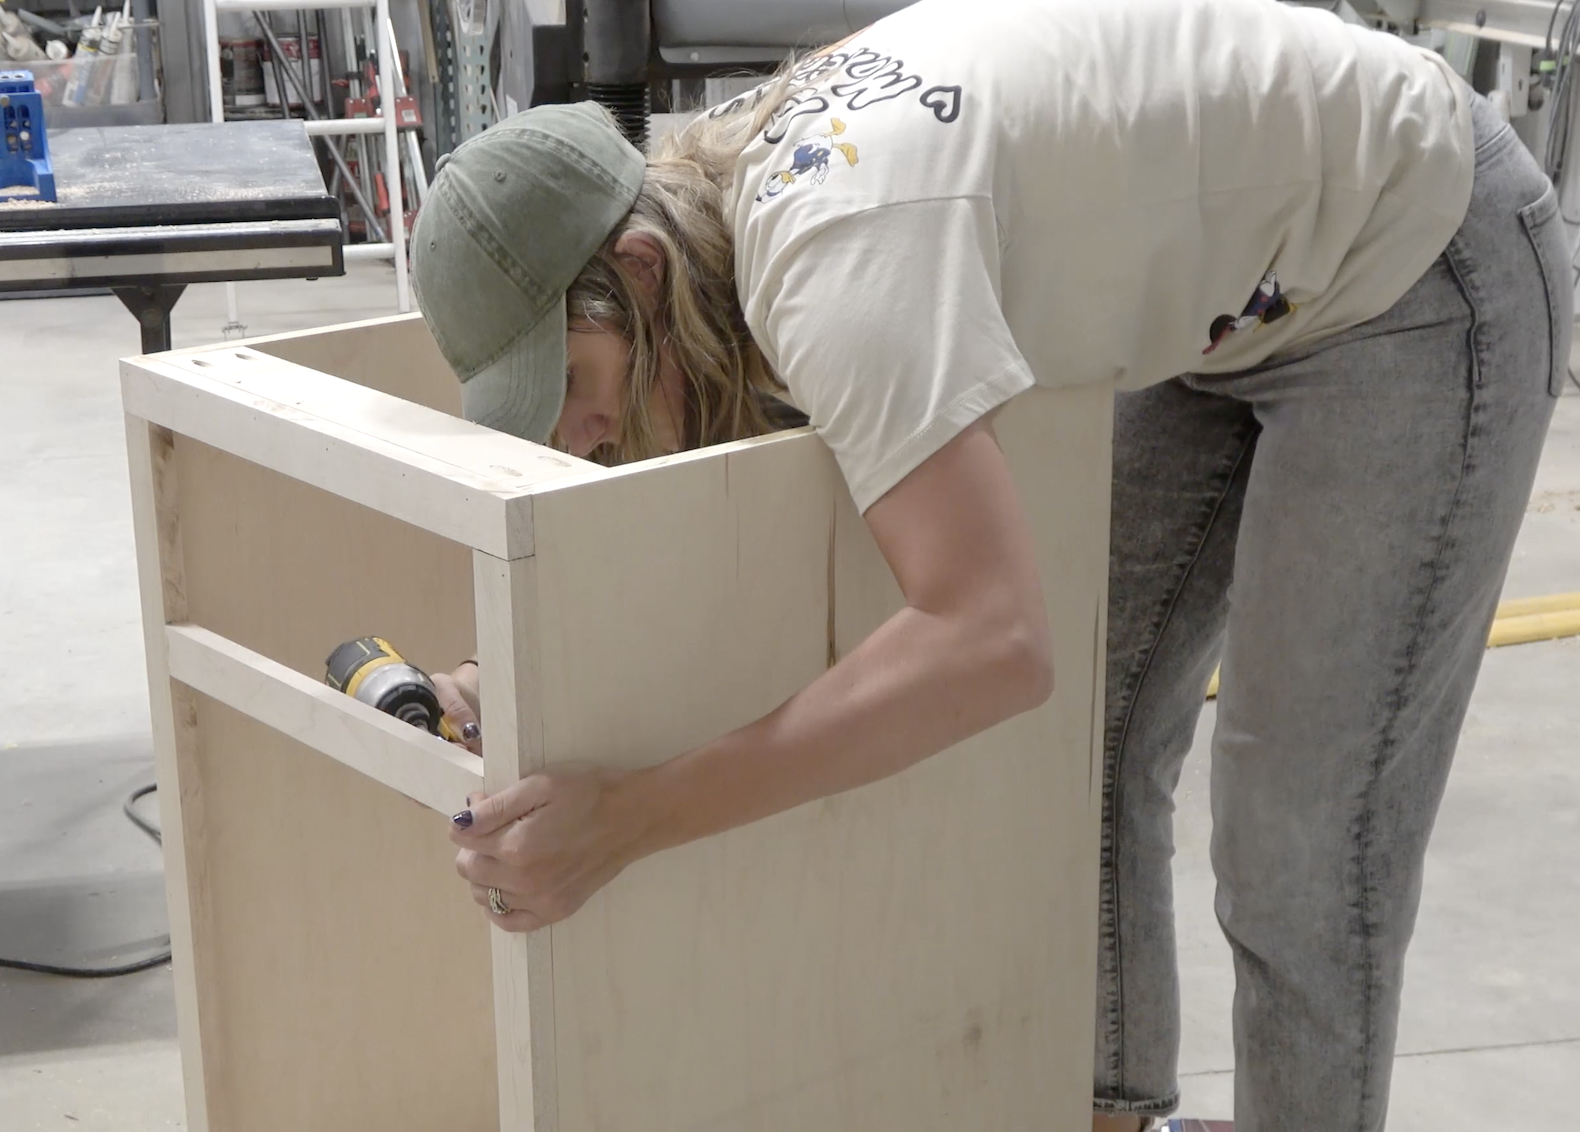
7 - Adding Decorative Trim
This decorative trim adds a beautiful detail and also covers up the gap on the side between the cabinet carcass and base. I used a 1" piece of trim for this decorative detail.
-Use miter saw to cut 1 piece of trim at 21 1/2" (45 degree angle cut on both sides)
-Use miter saw to cut 2 pieces of trim at 21 1/2" (45 degree cut on one side, straight cut on other)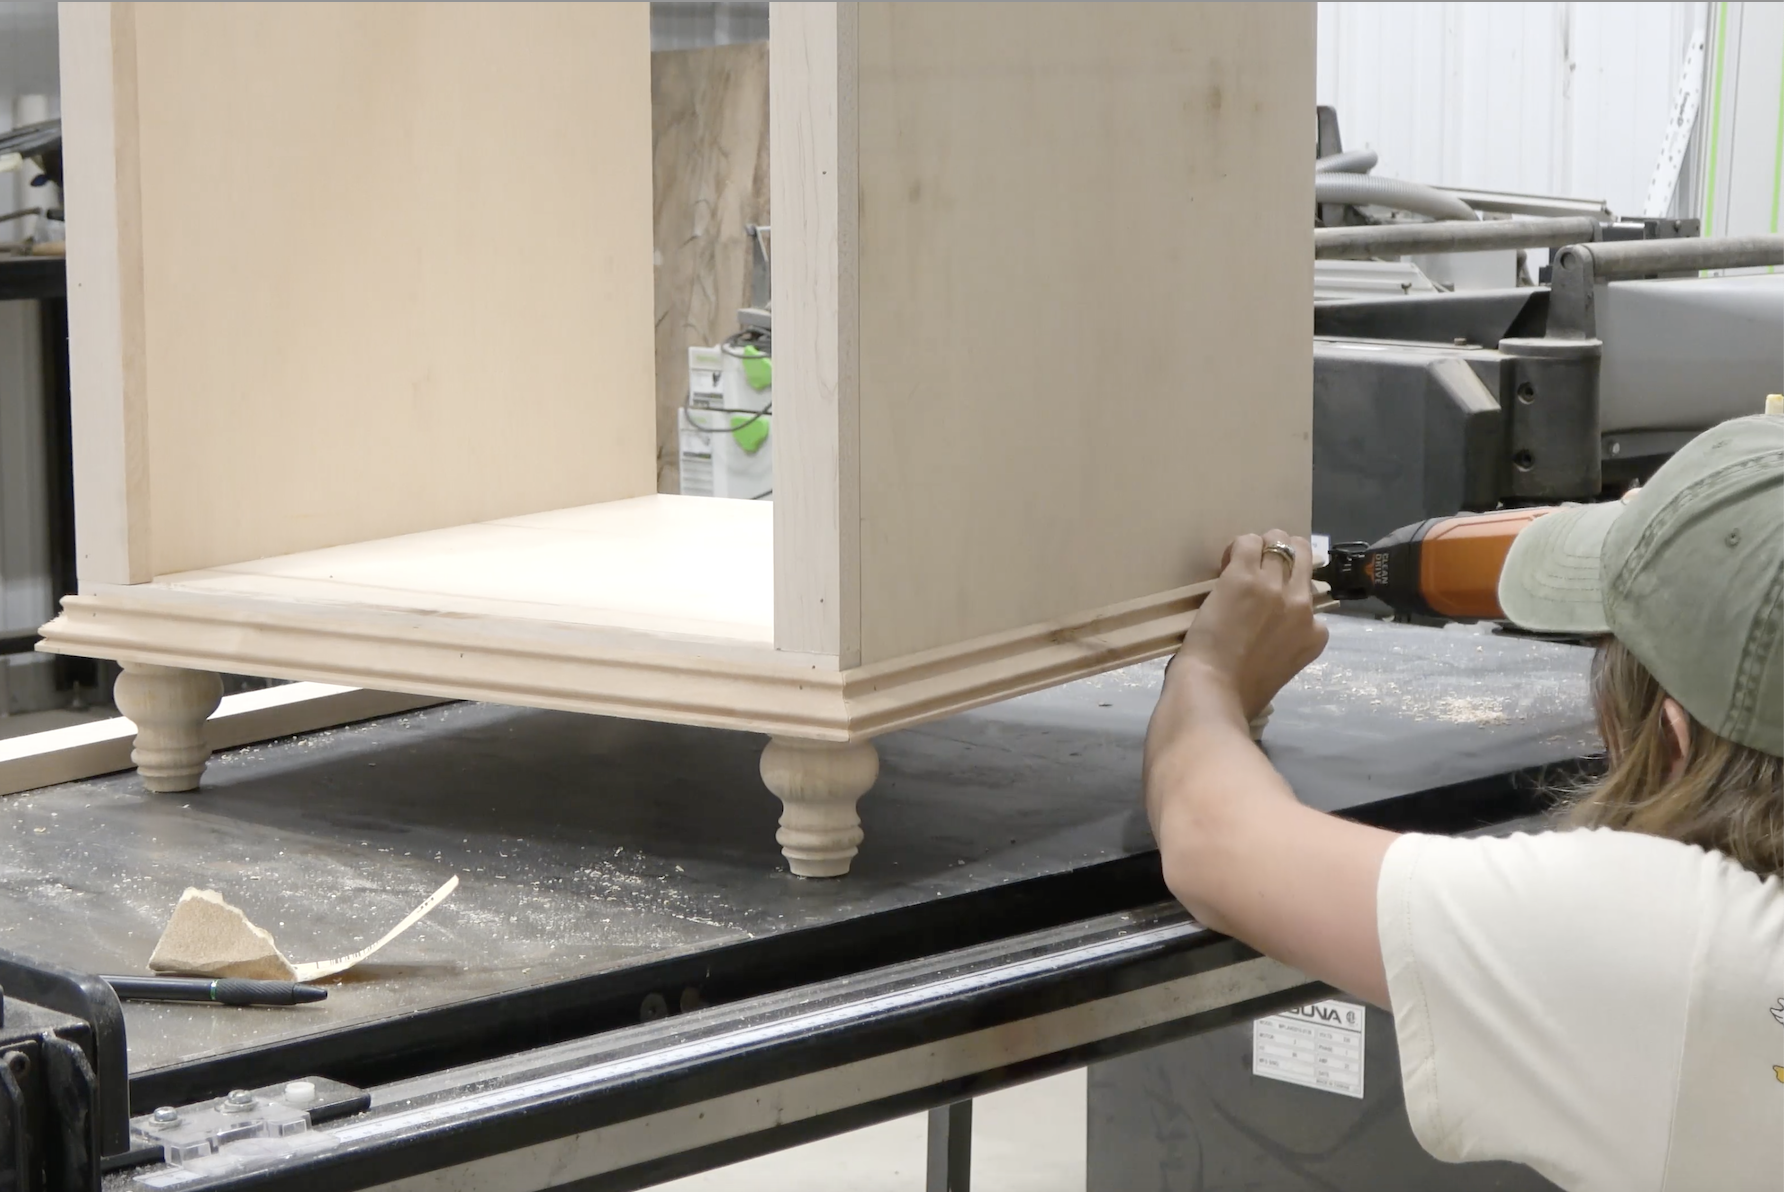
8 - Cutting Vanity Top
I used a Red Oak "Edge Glued Board" to make this step faster instead of laminating boards together myself.
-Cut the board down to 21 1/2" x 22 1/4"
-Use a drill to make a hole in the top
-Then used that drilled hole with a jig saw and cut out hole for drip sink
-Attach top using 1 1/4" screws from the inside of cabinet carcass
9 - Attaching Faux Drawer Front
I used a 1x8 piece that I cut down to 6" wide and 17" long for the drawer front
-Use wood glue and brad nails to attach a scrap piece of ply wood to the side trim pieces on the inside of the cabinet
-Then use that same scrap plywood to attach the faux drawer front using brad nails and wood glue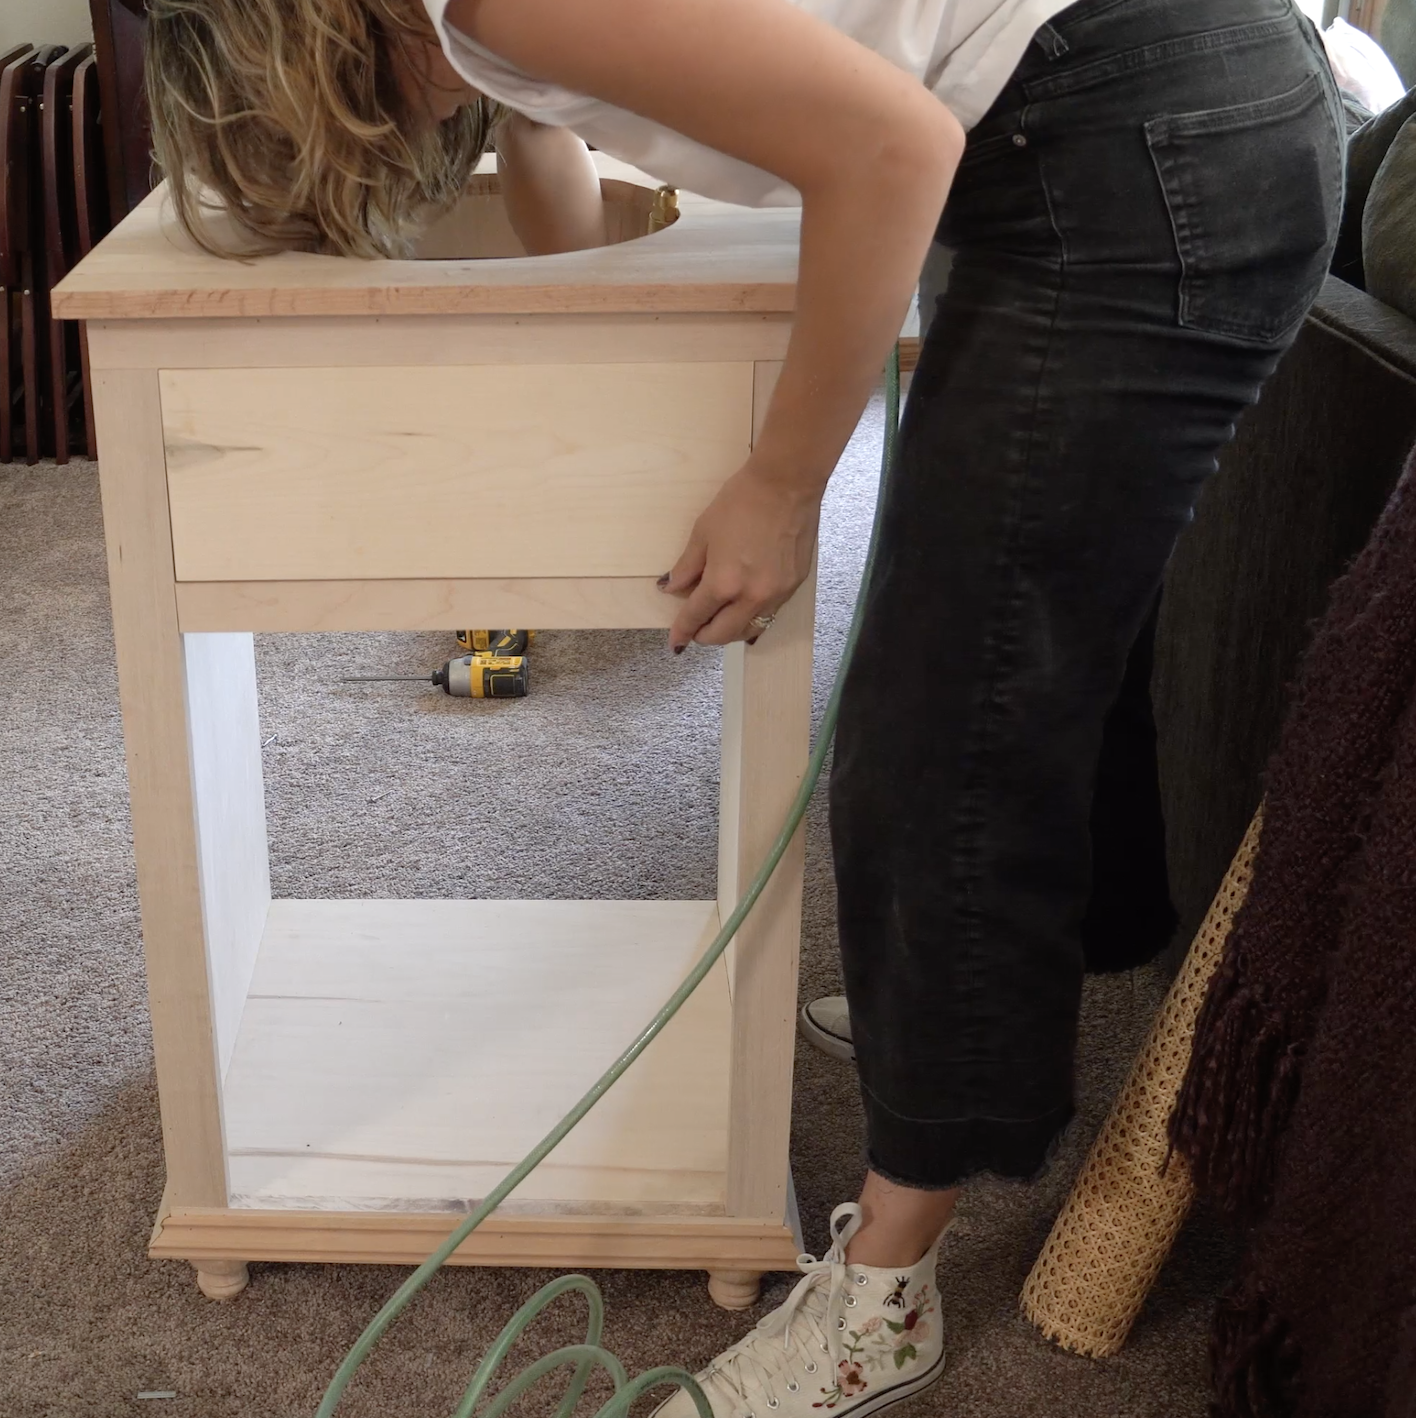
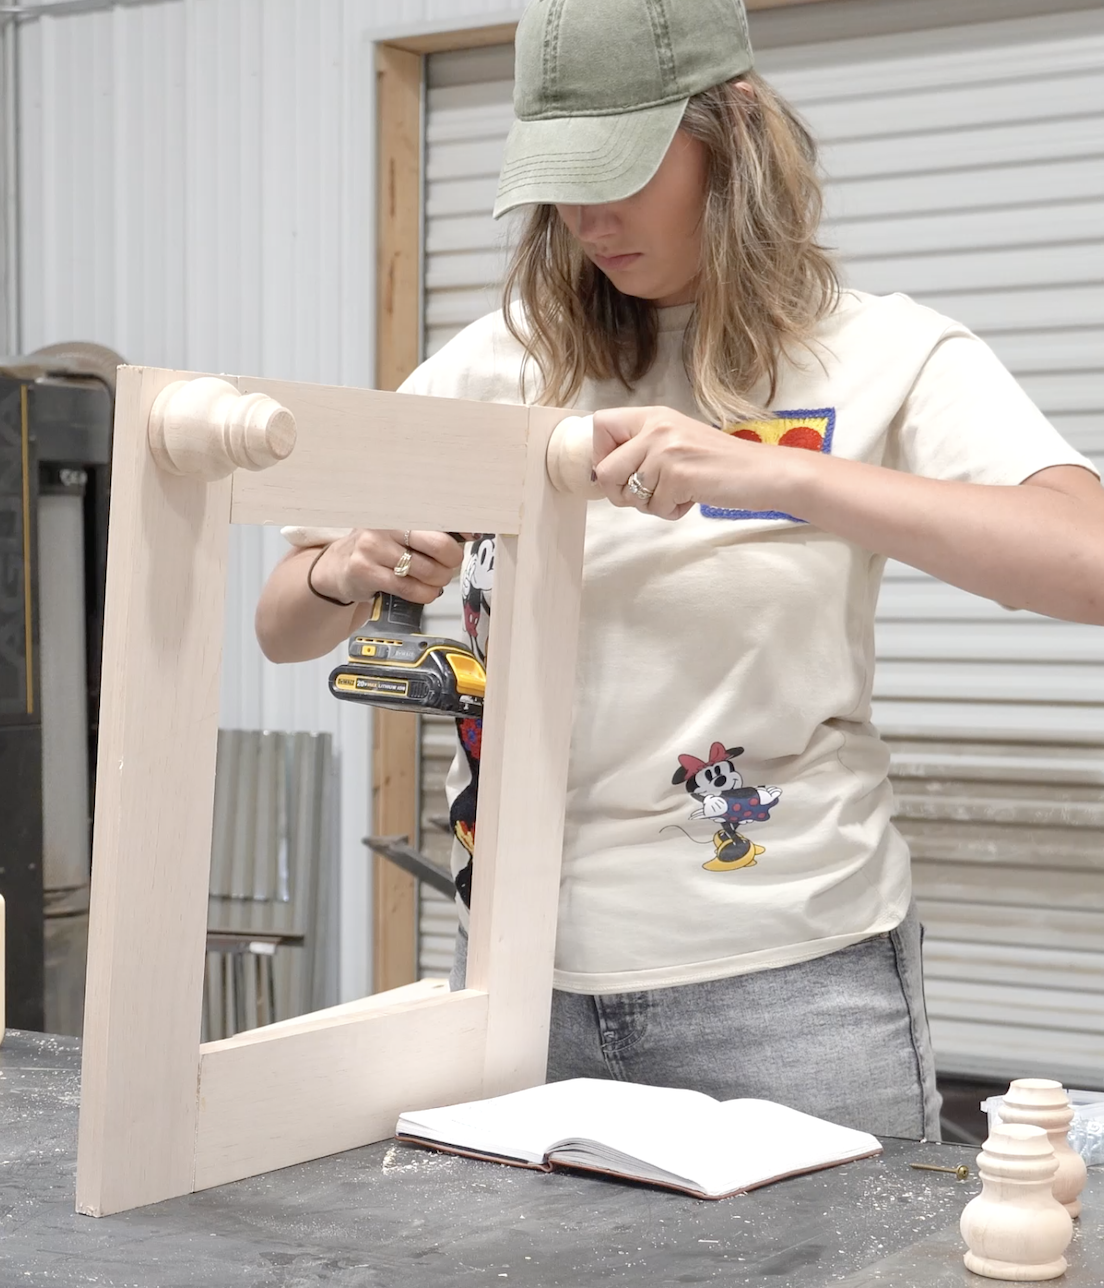
10 - Building Door
-Get a 1"x3" or rip down a board to 2.5" thick
-Cut 2 pieces at 20 3/4"
-Cut 2 pieces at 12"-drill two pocket holes on each end of the 12 inch pieces
-use pocket holes with pocket hole screws and wood glue to attach all 4 pieces together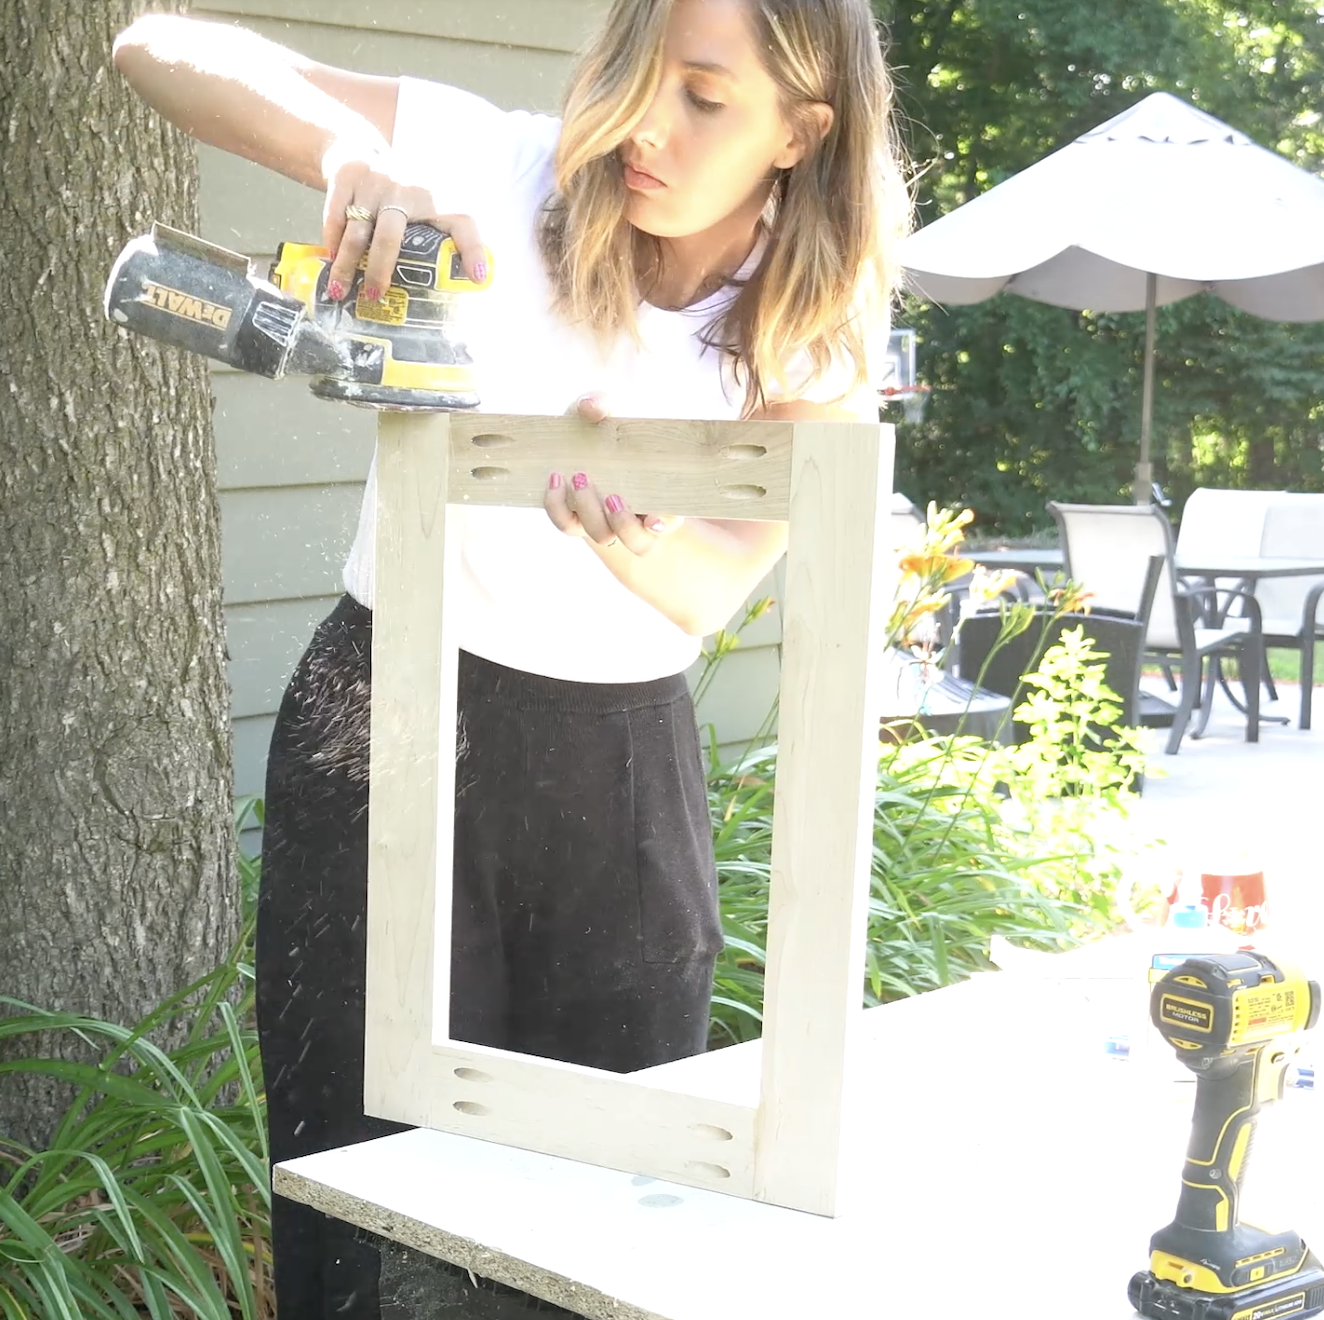
11 - Staining and Top Coat
I used 3 stains to achieve a slightly distressed look and light color. I used Special Walnut, Early American and Hazel Wood (Varathane)
-Stain vanity and door with the stain of your choice
- Apply 7 coats of top coat to make it fully waterproof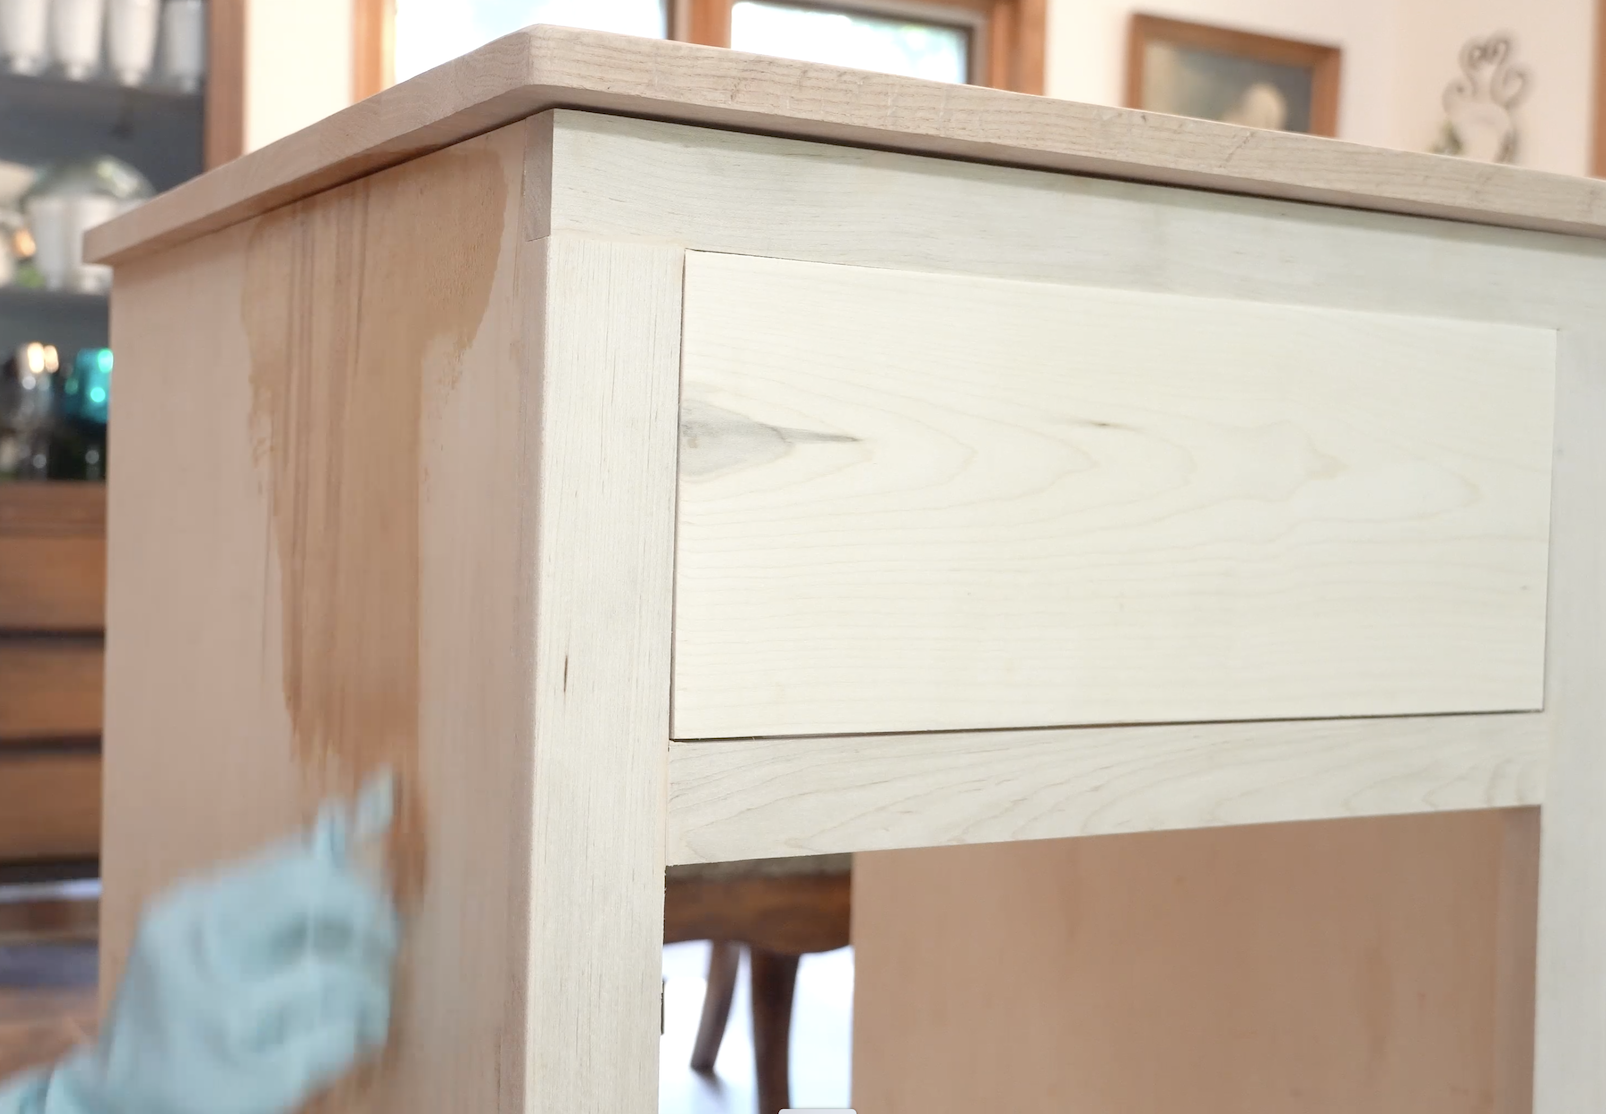
12 - Attaching the Door
-Use Fivalo conceal hinge jig to drill out cups for conceal hinges.
-Use the Blum mount conceal hinges for framed cabinet with an inset door.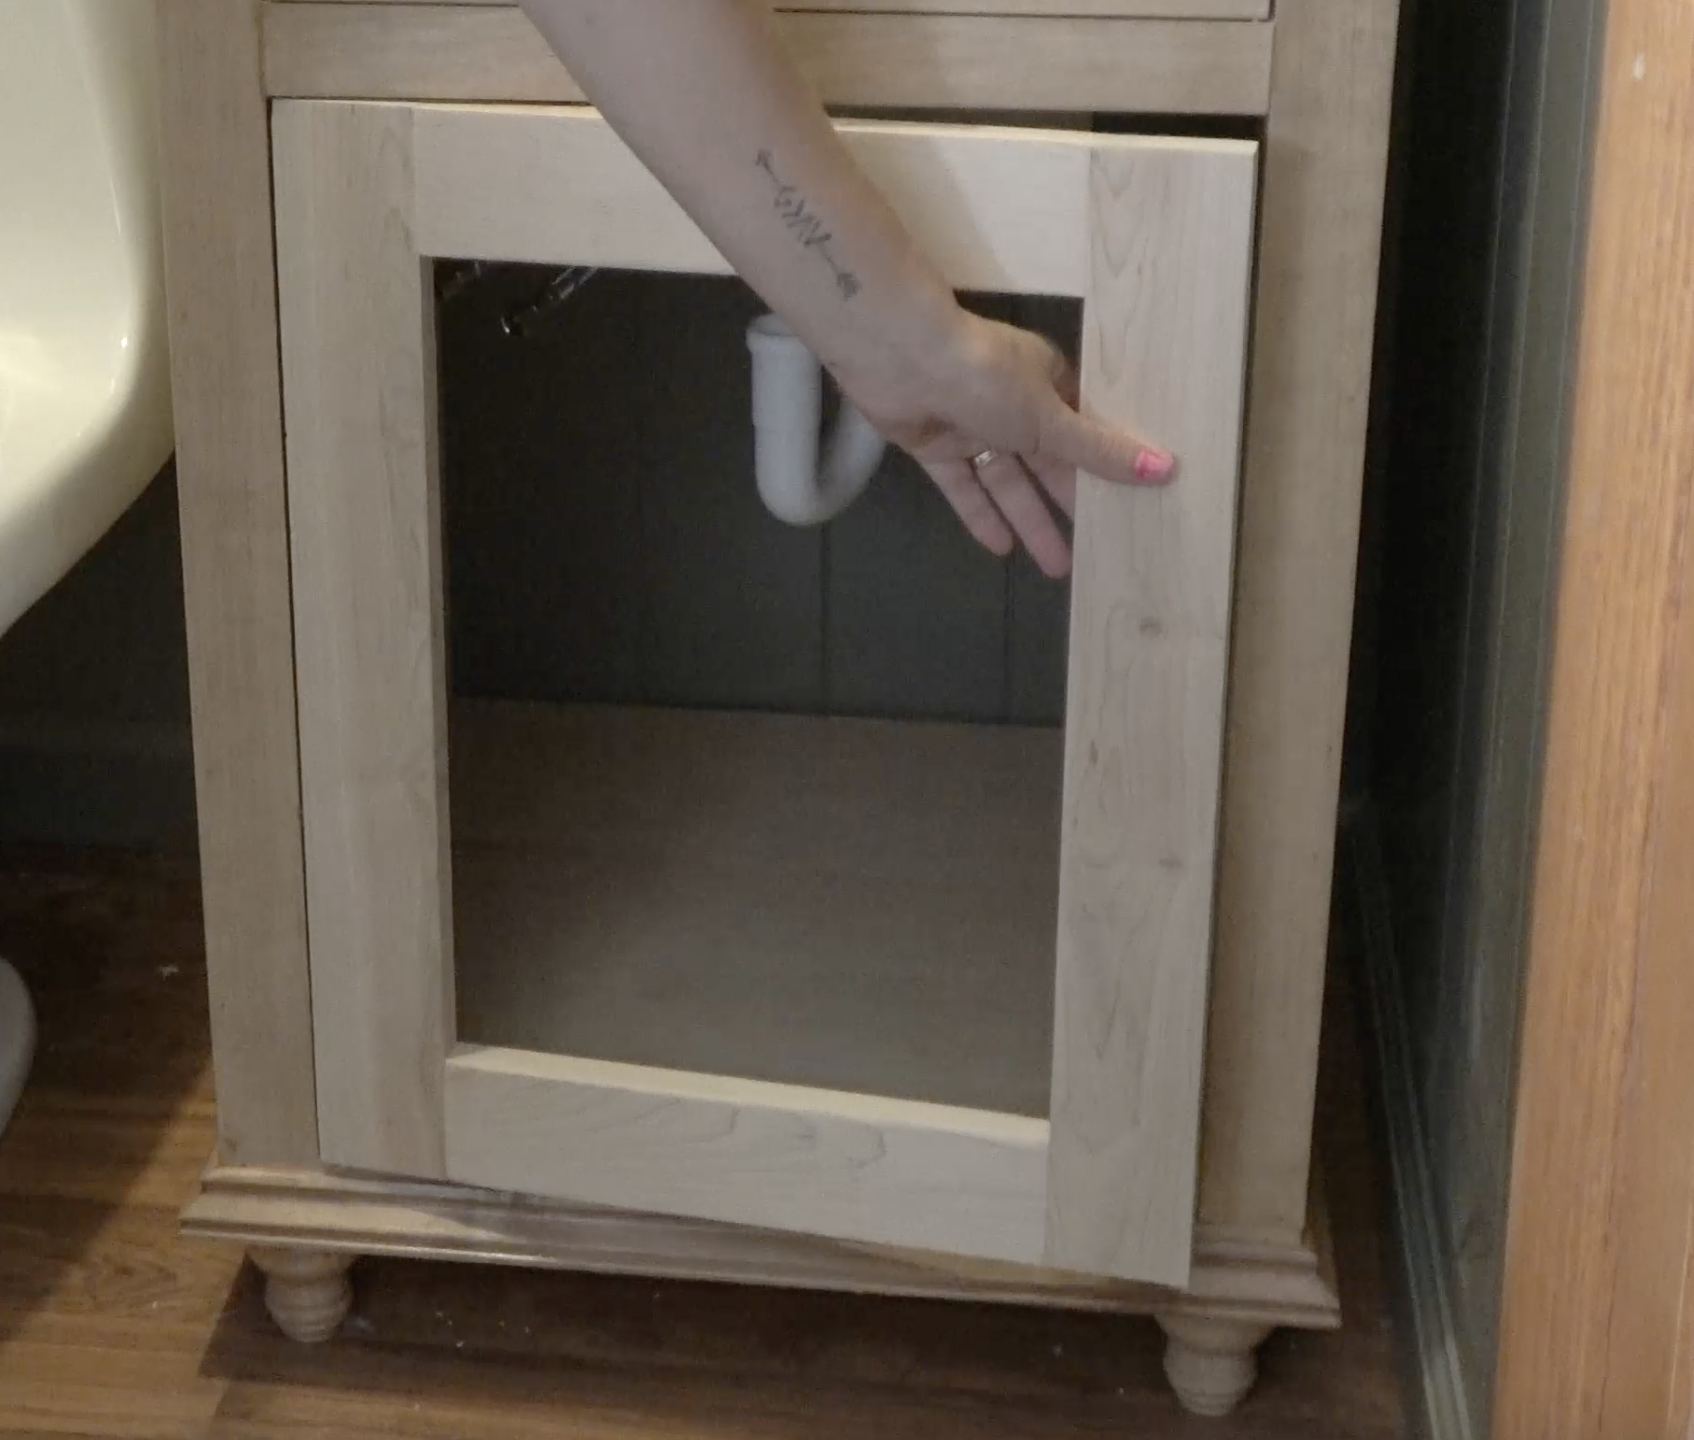
13 - Cabinet Shelf (Optional)
-Cut a piece of plywood 20" x 18.5"
- Use jig saw to cut out notch to work around "P" trap
- Use trim tape add to front of shelf
- Use small "L" shaped brackets to hold shelf up on the sideTip:
-The "L" shaped brackets make it so you can take shelf out if you need to work on plumbing

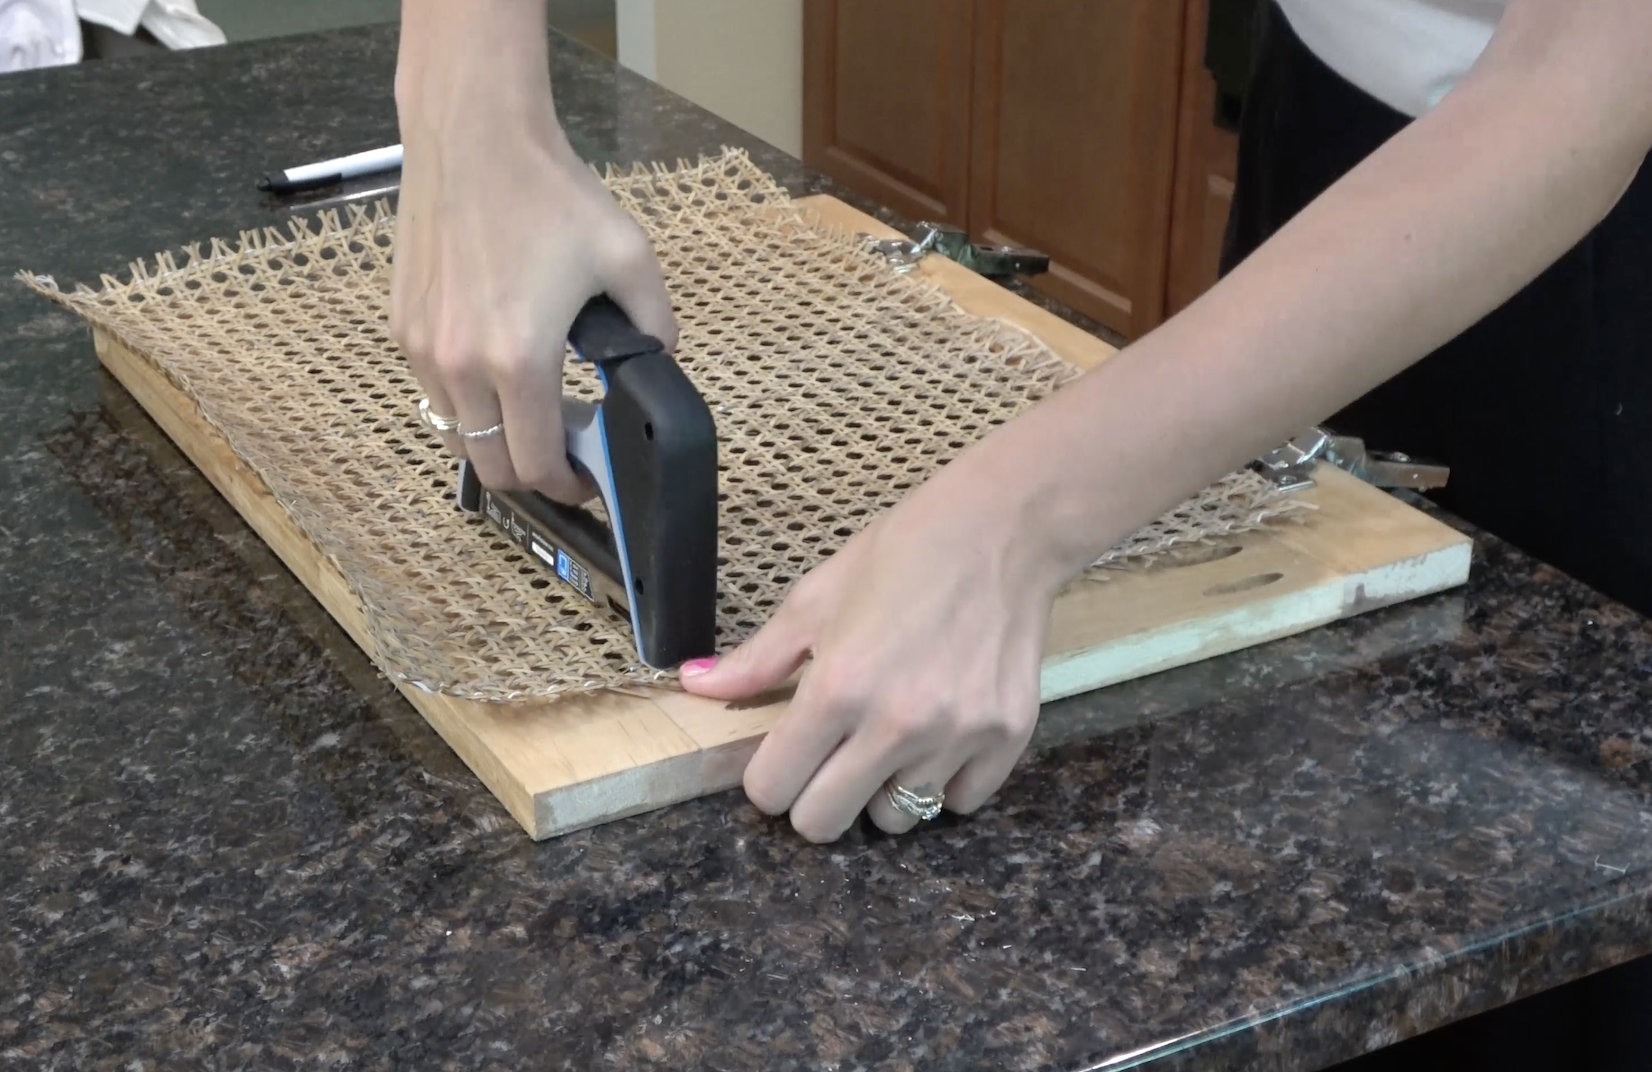
14 - Finish Door
-Soak a piece of cane webbing for 20 to 30 minutes
- Use staples/staple gun to attach cane to the door on the inside
-Pop door back on cabinet
-Finish the vanity by adding a handle to the door and faux drawerTip:
- Add handle to faux drawer before getting sink installed and siliconed down
15 - Final Step (Optional)
This backsplash piece creates a nice seal between the wall and the vanity.
Add a 2.5" x 21 1/2" wood piece behind the sink against the wall. Use silicone to attach the piece to the countertop and wall.
and enjoy all your hard work!


