A Clever Way to Hide Your Car Keys
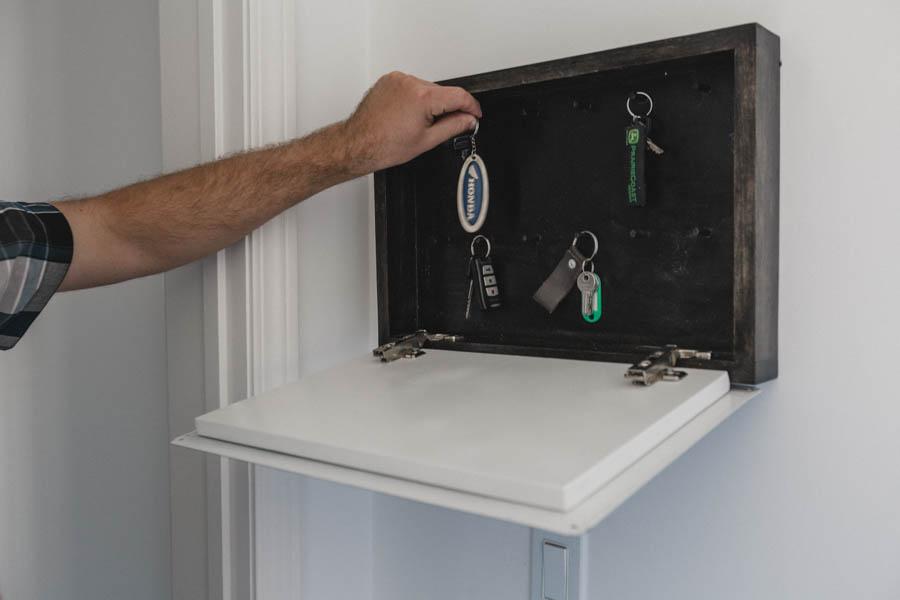
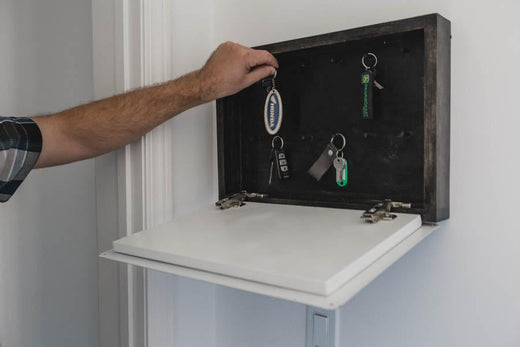
Keep your car keys discreetly hidden behind a sign—an ideal solution for the garage or mancave, especially for the guy with way too many keys! This simple yet ingenious idea lets you store your keys out of sight while keeping them easily accessible when you need them.
Materials

Wood Products:
- 1 Maple, 1x6 (25 mm x 150 mm) (as per plans)
- 1 Plywood, 1/4" (6 mm) thick, partial sheet
- 1 MDF, 5/8" (16 mm) thick, partial sheet
- 12 Wooden Dowels, 1/4" (6 mm) diameter (as per plans)
Hardware & Supplies:
- 2 Concealed Hinges
- 1 Sign (details in plans)
Directions
Cut Materials
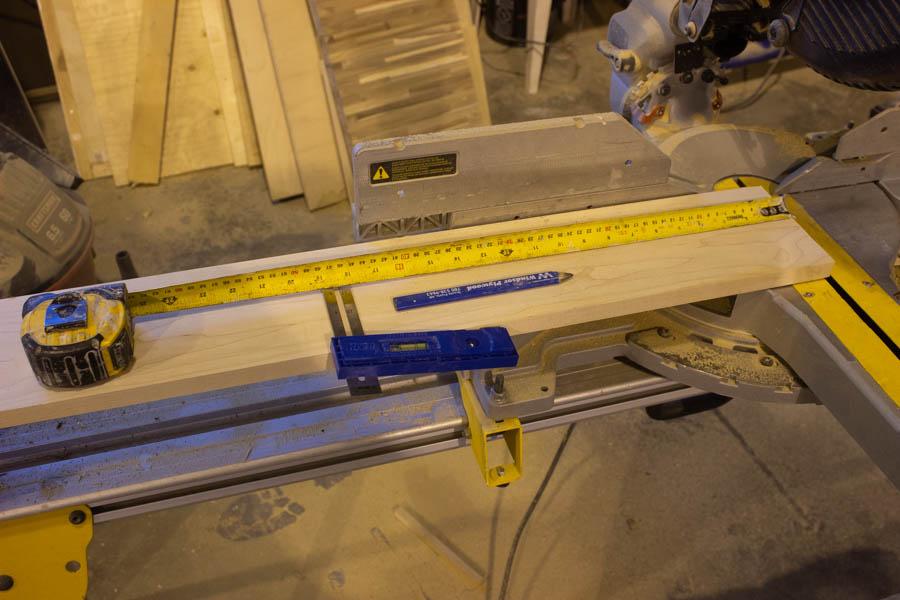 Using a compound miter saw (or similar tool), cut your materials to the specified lengths as outlined in the plans. Make sure to follow the measurements carefully for accurate cuts.
Rip Materials
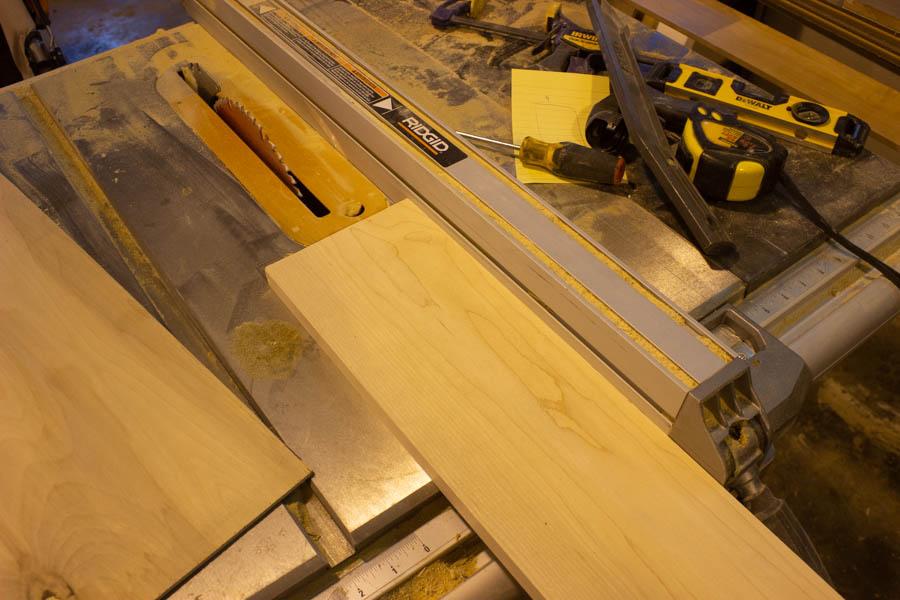 Using a table saw, rip the maple pieces B and C to the width specified in the plans. Ensure that the cuts are straight and accurate to achieve the proper fit for your project.
Sand
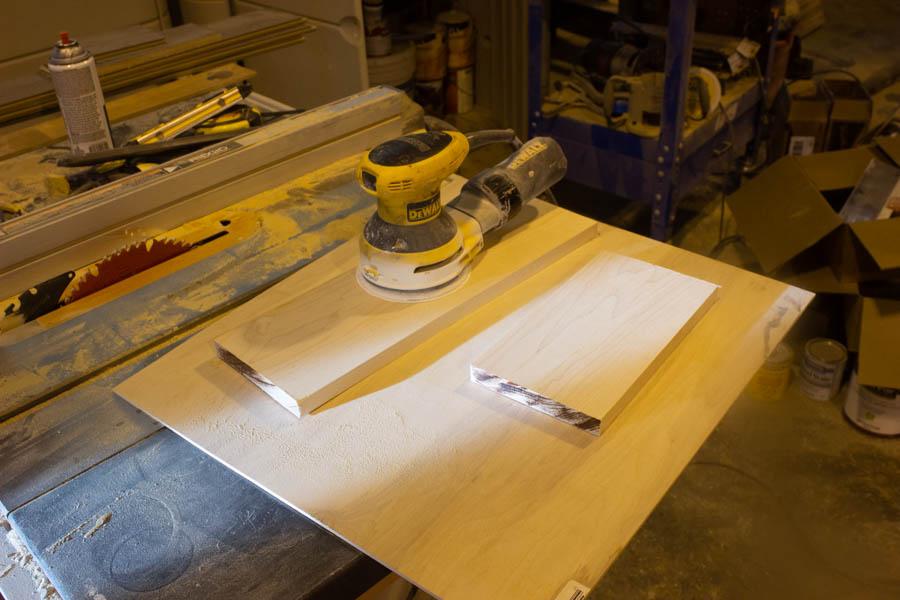
Before cutting your pieces to size, lightly sand the maple board with an orbital sander using 100-grit sandpaper. This will help smooth out any rough spots and make the cutting process cleaner.
Drill Pocket Holes
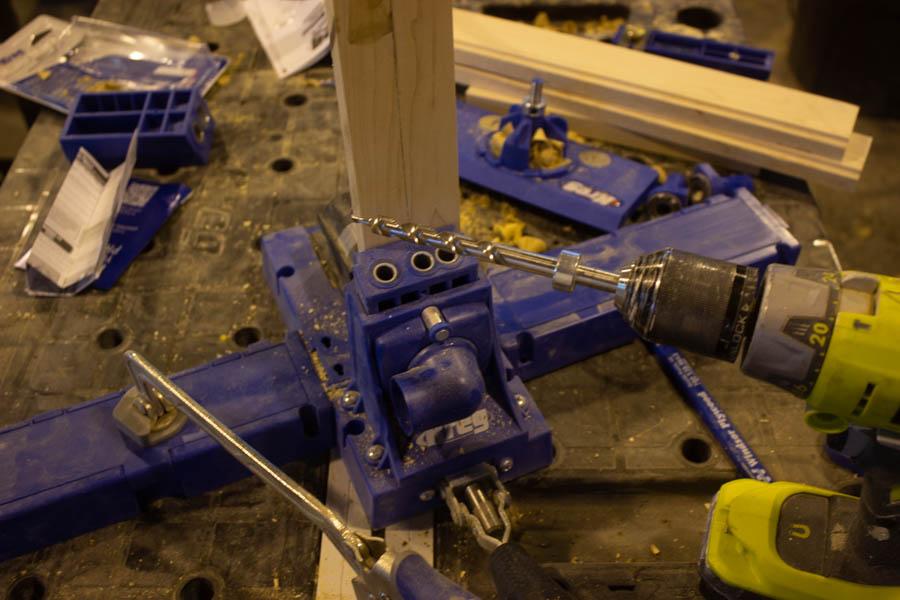
Using your Kreg Pocket Hole Jig, drill the pocket holes as specified in the plans. Make sure to follow the measurements and angles carefully to ensure the holes are properly aligned for assembly.
Cut Groove
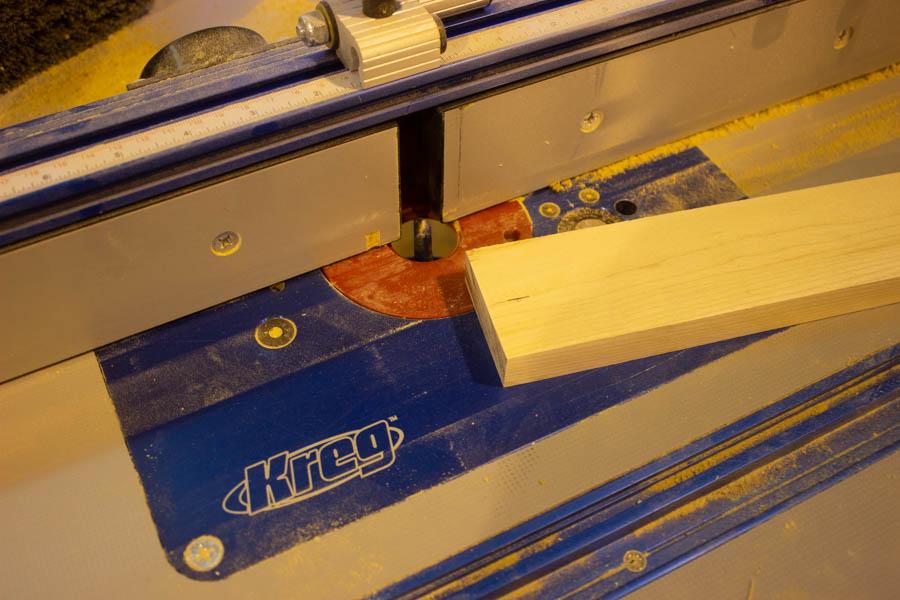 On the bottom inside face of parts B and C, cut a groove as specified in the plans. We used a Kreg router table for this step, but you can also use other tools, such as a table saw with a dado blade, to achieve the desired groove. Be sure to follow the measurements for accurate placement and depth.
Assemble Frame
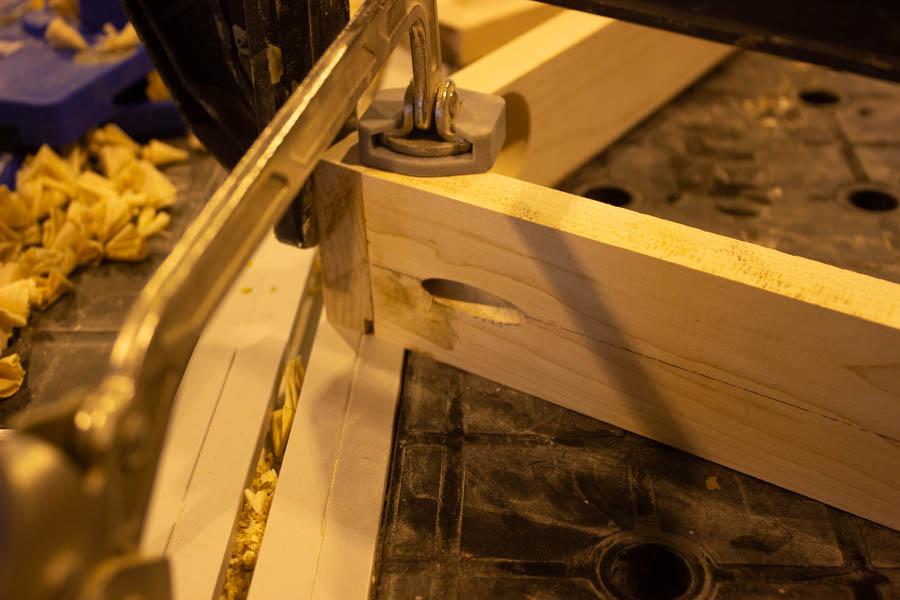
Apply wood glue to all the joints, then secure the pieces with clamps to hold them in place while the glue dries. Once everything is aligned, screw the pocket holes to firmly attach the parts together. Make sure the frame is square and secure before moving on to the next step.
Prep Back (Part A)
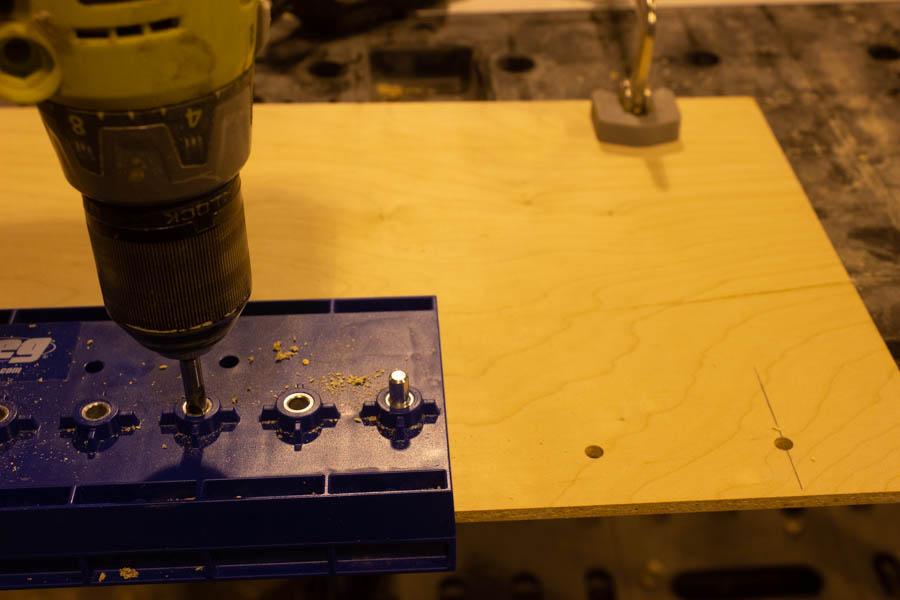 Using your Kreg Shelf Pin Jig, drill the holes into Part A for the shelf pins (or you can use a 1/4" diameter drill bit and drill the holes individually). To start, we used the jig to layout the first row and drilled every other hole on the jig template. Then, I made a 1 1/8" spacer block to hold the jig in place at the bottom of the board, ensuring proper alignment for drilling the bottom row of holes.
Drill Hinge Holes
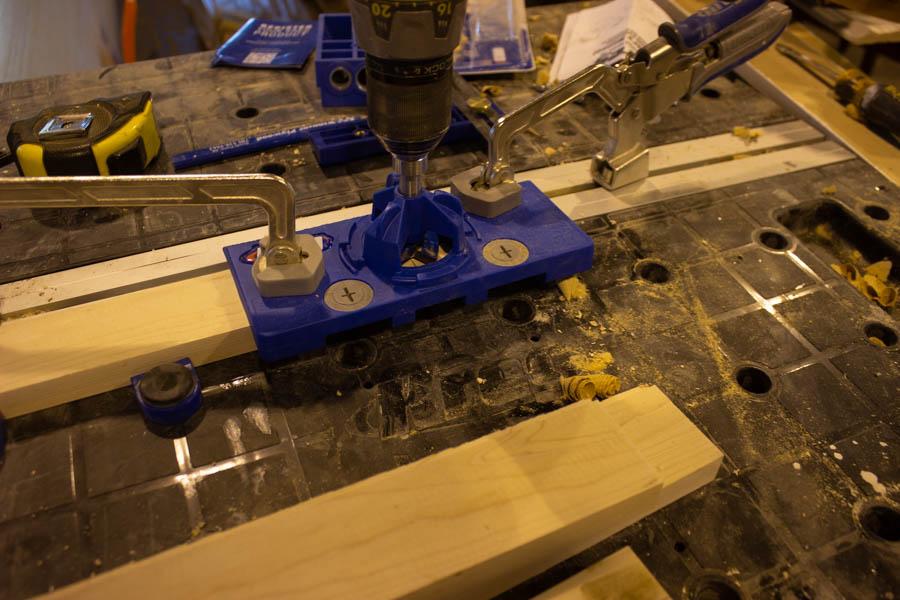 Using your Kreg Concealed Hinge Jig drill two holes as noted on the plans. We set the jig to a 3mm offset and used left over Ikea concealed hinges.
Assemble Part A
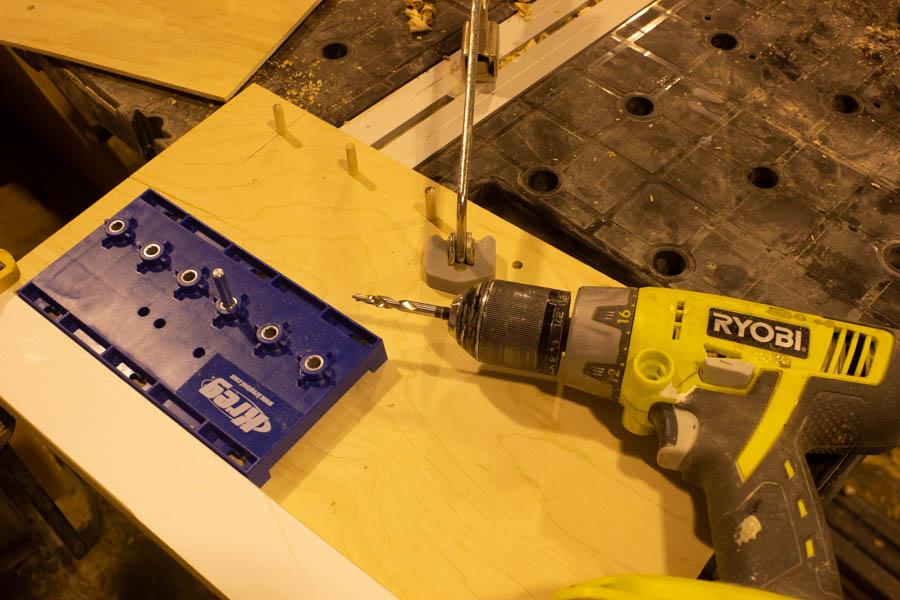
With your holes drilled cut and install the 12 wooden dowels in Part A. We used wood glue to secure them into place.
Glue Part A
With the dowels in place, apply glue to the back groove and then position Part A at the back of the frame. Before installing the back face, you may want to lightly sand all the pieces with 220-grit sandpaper to ensure a smooth, clean surface for a better finish. Once ready, secure Part A into place and allow the glue to dry.
Cut Keyholes
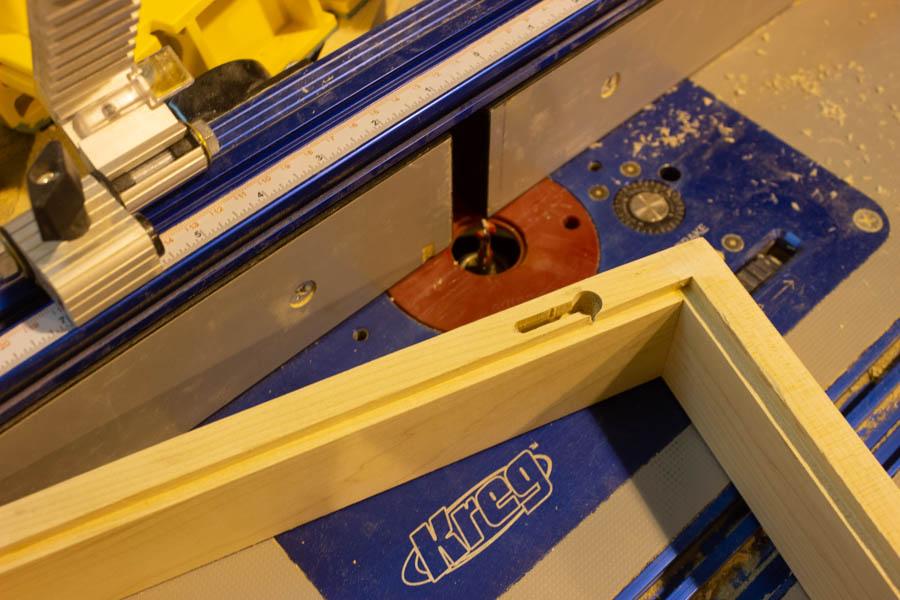
We cut keyholes using our router table on the back of the frame to allow for wall attachment. However, any hanging method can be used for this step. Note that the photo initially shows the keyholes cut downward, but I later had to cut them in the opposite direction so the slots face toward the top of the frame. Be sure to position the keyholes correctly for proper hanging.
Finish Frame and Front
We finished the maple frame with Ebony (Black) stain and a satin varnish to achieve a smooth, durable finish. For the MDF board, we applied a primer followed by a coat of white paint to create a clean, polished look. Be sure to allow each layer to dry fully before applying the next for the best results.
Plug Pocket Holes
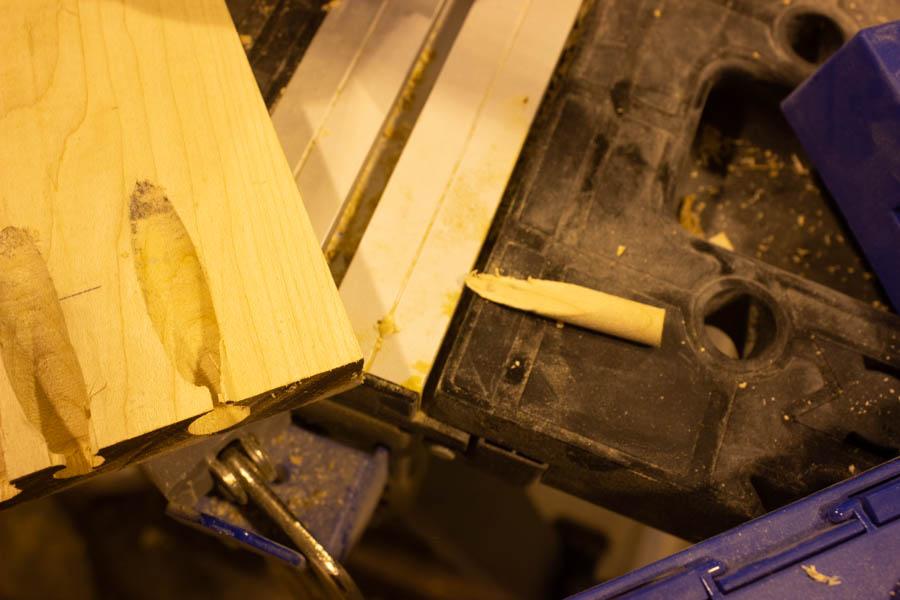
Using our custom pocket-hole plug cutter, we cut maple plugs from scrap wood pieces to fill the 4 pocket holes. We carefully selected the wood to match the grain as closely as possible in order to hide the holes and achieve a seamless finish. Once the plugs were in place, we sanded them down to ensure a smooth and uniform surface.
Final Assembly
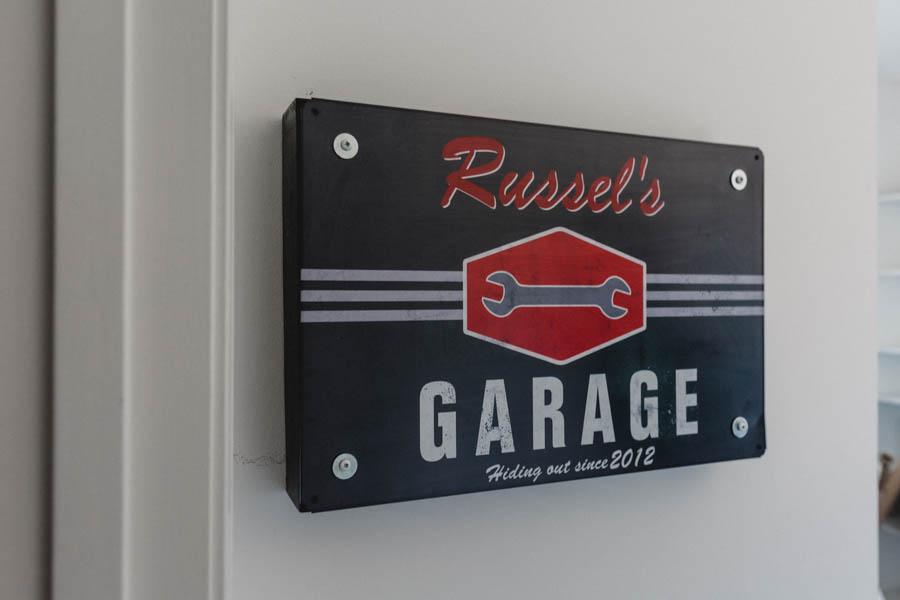
Secure the hinges to both the frame and the MDF board, ensuring they are aligned properly for smooth operation. Next, screw the sign to the MDF front. You may need to drill new holes to attach the sign securely, ensuring the screws go into the MDF board and not the frame.


Share:
The Ultimate Mudroom Drying Rack
The Ultimate Drop-Zone Shelf plan Guide