

Fivalo workshop technique • Drawer installation
Drawer sticks halfway? Check the whole travel.
Install side-mount drawer slides from consistent reference surfaces, with the clearance specified for the exact slide, and keep the rails parallel from front to back. Test the empty drawer through its travel before completing the manufacturer’s final fastening sequence.
A drawer can look aligned at the opening and still bind deeper inside the cabinet. Matching the front heights is only one check: a tight rear opening, a bowed mounting surface, an oversized box or a projecting screw head can interfere with travel. This guide explains a practical three-position check for conventional side-mount ball-bearing slides. Undermount, centre-mount and specialist slides need their own installation instructions.
Identify the slide before changing anything
Find the slide model and its current installation sheet. Confirm the mounting type, side-space allowance, length, front setback, screw-head requirements and any handed disconnect mechanism. Do not copy a familiar allowance from another rail. Empty and support the drawer before using the maker’s removal procedure; avoid forcing it past a stop.
Tools and materials
- The matched left/right slide set, instructions and specified mounting screws.
- Tape or steel rule, square, straightedge, and an inside-measuring stick or other suitable width gauge.
- Drill, pilot bit suited to the screws and cabinet material, driver and hand screwdriver.
- A compatible slide-support jig or matched spacer blocks, plus clamps.
- Suitable rigid mounting strips or manufacturer-approved face-frame brackets when the construction requires them.
- A stable, secured cabinet and support for handling the drawer.
On a frameless cabinet, measure between the actual opposing mounting surfaces. On a face-frame cabinet, account for any frame projection and use the specified mounting strips or brackets. A levelled cabinet can still have non-parallel sides. Check the mounting plane itself rather than assuming the floor or face frame proves the fit.
Worked example: calculate drawer width from side space
For the named Accuride 3832E example, the technical sheet gives per-side space of ½″ + 1/32″ / −0, approximately 12.7 mm + 0.8 mm / −0. This allowance belongs to that model; it is not a universal drawer-slide rule.
| Example measurement | Metric | Approximate inches |
|---|---|---|
| Clear mounting-surface spacing | 500 mm | 19.685″ |
| Drawer outside width | 474 mm | 18.661″ |
| Total remaining side space | 26 mm | 1.024″ |
| Space on each side | 13 mm | 0.512″ |
Per-side space = (opening width − drawer outside width) ÷ 2. Here, (500 − 474) ÷ 2 = 13 mm / approximately 0.512″, which lies within the named example’s allowance. Confirm the space along the full travel, not only at the front. Inch equivalents in this metric example are rounded; use one consistent system for the actual fit.
Diagnose before adding lubricant. Dirt or damaged bearings need their own maintenance check, but lubricant cannot correct a drawer that is too wide or rails that converge. Stop if the mechanism jams; forcing it can damage the track or bearing retainer.
Step 1 — Check the front, middle and rear

- Remove and support the empty drawer using the slide maker’s disconnect method. Inspect both rails for debris, damaged parts and screw heads that could obstruct movement.
- Measure the opposing mounting surfaces at the front, middle and rear, all at the planned slide height. Record the three readings.
- Check the drawer outside width at corresponding positions and compare its diagonals on a flat surface. Look for bowed sides and a twisted assembly.
- Compare the available side space with the exact slide specification. Identify whether the problem belongs to the cabinet, drawer or rail position before changing the fixings.
Fivalo tip: Use a simple three-row worksheet: front, middle and rear. A front-only measurement can miss the tightest part of the opening.
Step 2 — Support the rails from one reference

- Establish the same height datum on both sides. Set the front setback required for your slide and overlay or inset arrangement.
- Support each cabinet member on a suitable jig or matched spacer blocks resting on a verified base. Keep the two rails parallel along their full length.
- Use the initial fastening and adjustment locations specified for the slide. Predrill as required and use the correct screw head so it seats without obstructing the mechanism.
- Recheck the rear position after fastening. If a mounting surface is bowed or recessed, provide a sound straight mounting plane with suitable rigid packing or the specified brackets. Do not bend the rail to follow the wall.
Fivalo tip: A slide-support jig repeats a height; it does not establish drawer width or straighten the cabinet. Confirm those first.
The Fivalo Drawer Slide Jig with Toggle Clamps can support a compatible rail at the selected height while you fasten it. A carefully checked spacer-block setup is another option. Match the support method to the slide and cabinet construction.
Step 3 — Test travel, adjust and finish fastening

- Fit the drawer members at the prescribed positions. Bring the bearing retainers to the installation position if the slide instructions require it, then reconnect both sides together.
- Cycle the empty drawer gently. Note where resistance begins and inspect that location rather than moving every fixing at once.
- Use the intended adjustment features to correct rail position. Correct an oversized or twisted drawer box before trying to compensate with the slide.
- Complete every required final fixing, then retest. Fit the drawer front and intended contents only after the empty mechanism operates correctly; repeat the checks afterward.
Fivalo tip: Follow the maker’s sequence for slots, cams and final screw locations. Do not leave the drawer in service with temporary or incomplete fastening.

Find the cause of a tight spot
| Symptom | Check first | Next action |
|---|---|---|
| Starts freely, tightens deeper inside | Rear side space, rail convergence and mounting-surface straightness. | Compare front, middle and rear references; correct the mounting plane. |
| Binds along nearly the whole travel | Drawer width against the selected side-space requirement. | Measure the actual drawer and opening; correct the box or mounting surfaces. |
| Catches at one repeatable point | Projecting screw, debris or damaged track. | Inspect that point with the drawer removed; use approved screws or service guidance. |
| One side engages before the other | Handed parts, member position and retainer position. | Reconnect using the manufacturer’s sequence; do not force engagement. |
| Works empty but not with contents | Load, fastening, cabinet stability and racking. | Check the rated installation conditions and complete mounting support. |
| Front gaps look uneven but travel is smooth | Drawer-front attachment and reveal adjustment. | Adjust the front independently where the system allows. |

Frequently asked questions
Do all side-mount slides need half an inch per side?
No. Many familiar models use a similar nominal size, but allowances and tolerances vary. Use the exact current installation sheet before building or altering a drawer.
Can I use these dimensions for undermount slides?
No. Undermount systems have different box, bottom, notch, rear-hole and locking-device requirements. Follow their own planning dimensions.
Why does the drawer fit at the front but not the back?
The opening may narrow, the drawer may widen or twist, or the rails may converge. Compare both mounting surfaces and the drawer at all three positions.
Should I loosen all the screws until it works?
Use the manufacturer’s intended adjustment points and keep the assembly supported. Once the alignment is correct, complete and secure all required fixings before use.
Does this installation automatically provide soft close?
No. Soft-close behaviour requires a slide designed for it. A standard ball-bearing slide can travel smoothly without having a soft-close mechanism.

Check three positions. Then hold the setup steady.
Save the clearance calculation and compare the whole opening before replacing hardware. Explore the Fivalo Drawer Slide Jig for support during compatible rail installations.
For more reliable reference marks, read measuring and marking accuracy. Find more practical cabinet-making guidance in Timber Tips.
Sources and illustration notes
- Accuride 3832E/3834E: model-specific side space and installation
- Accuride: general binding diagnosis; different model, so do not transfer its fixing dimensions
- Kreg: cabinet door and drawer installation overview
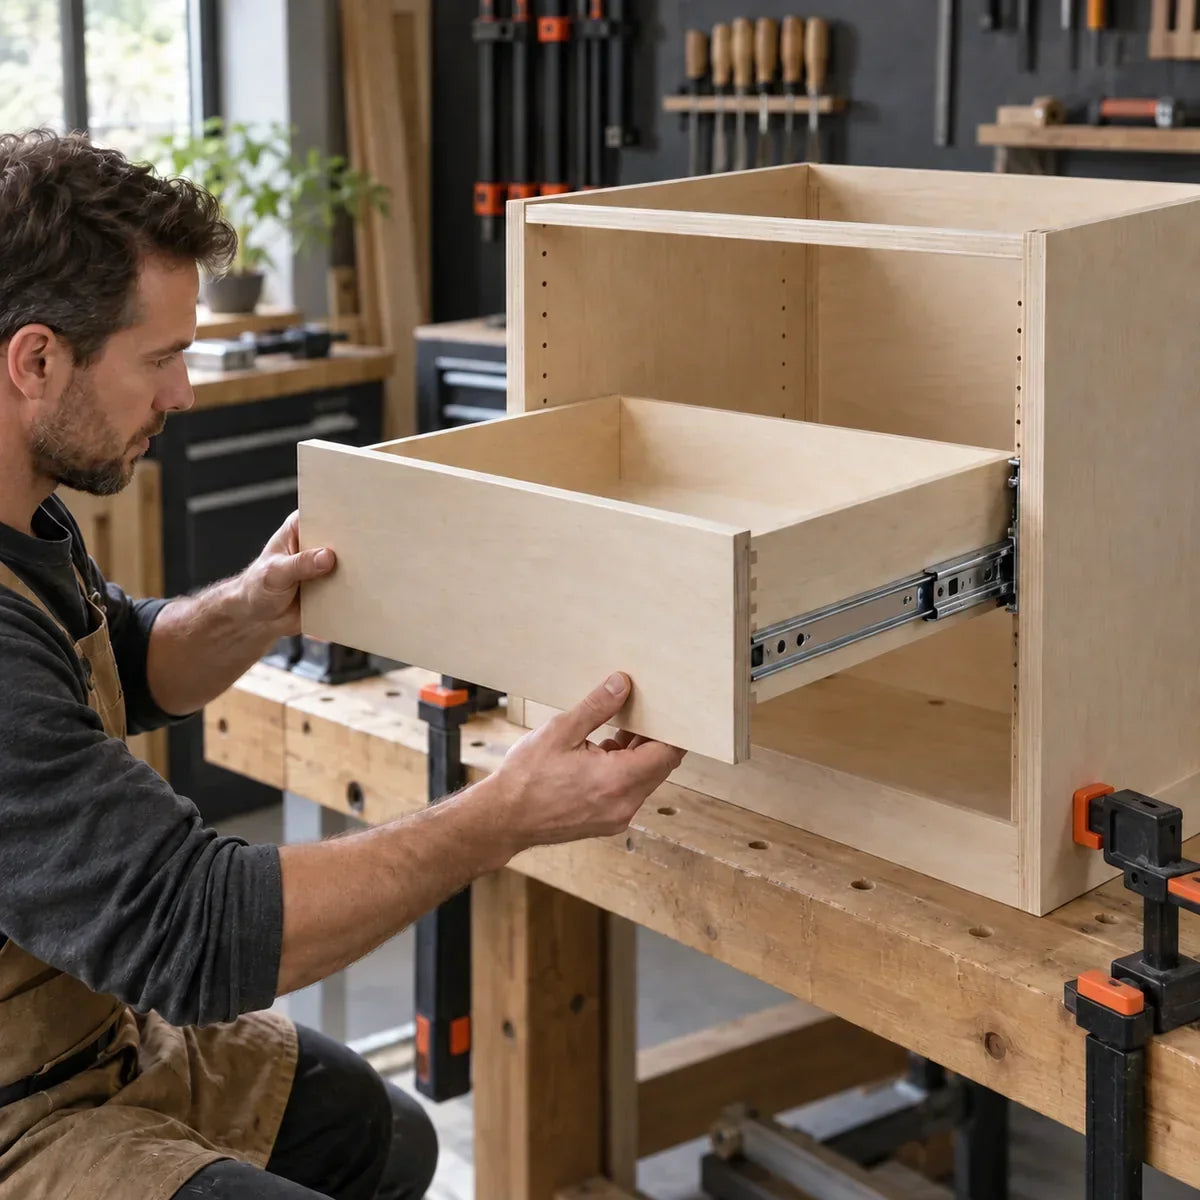
The images are AI-generated instructional illustrations of generic workshop setups. They are not photographs of a tested installation or exact Fivalo product models. Use the written measurements and your hardware manufacturer’s instructions; do not measure from a perspective image.
Share:
How to Drill Concealed Hinge Holes: Setback, Depth & Test Fitting
Cabinet Hardware Placement: Knobs, Pulls and Accurate Drilling