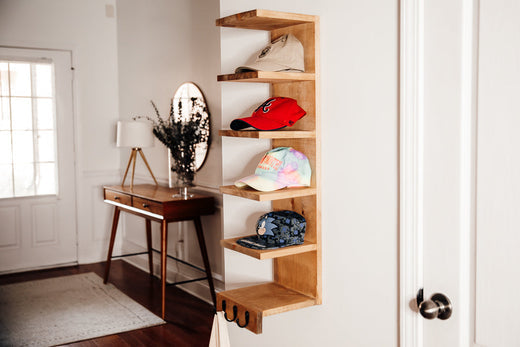
Ten wieszak na kapelusze montowany na ścianie DIY to świetny projekt dla początkujących stolarzy, który pomoże zorganizować każdy przedpokój, pomieszczenie gospodarcze lub szafę! Możesz swobodnie modyfikować wymiary w zależności od potrzeb przechowywania.
 Stopień trudności: miasy
Materiały:
Produkty drewniane
- 2 x 1x10 deska – 1x10x8' → 19 mm x 254 mm x 2438 mm (każdy)
- 1 x 1x3 Plansza – 1x3x6' → 19 mm x 76 mm x 1829 mm
Sprzęt i materiały
- 211 1/4" Wkręty do otworów kieszeniowych
- 3 wieszaki na szlafroki
- 1 Plama
- 1 Śrubokręt
- 1 Uchwyt z otworem na klucz
Lista cięć i części:
- Tył (1) – plansza 1x10: 34 1/2" długi → 876 mm
- Półki (6) – deska 1x10: 8" długi → 203 mm
- Dolna przednia część (1) – 1x3 : 9 1/4" długi → 235 mm
Wskazówki:
-
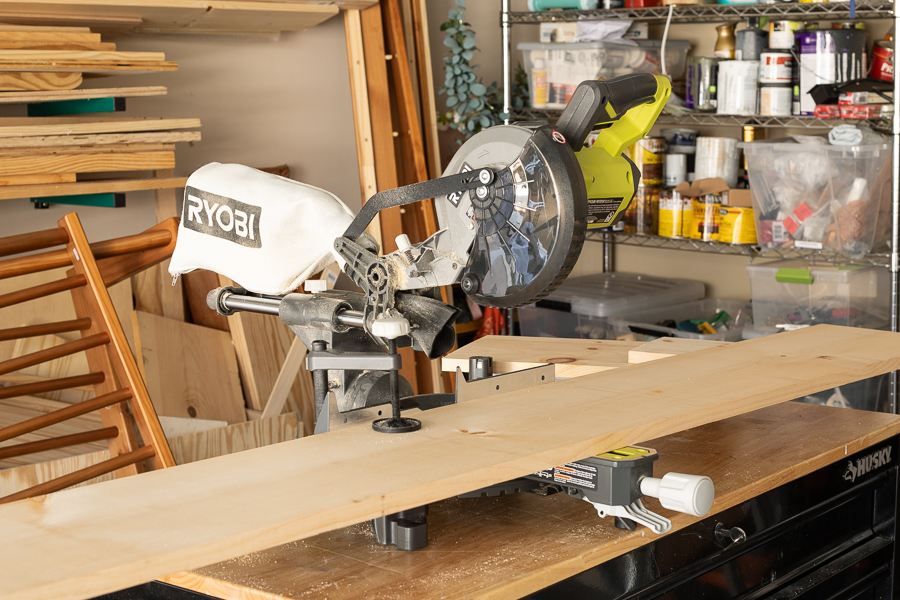
1 - Przytnij drewno
Przytnij drewno do wymaganych wymiarów.
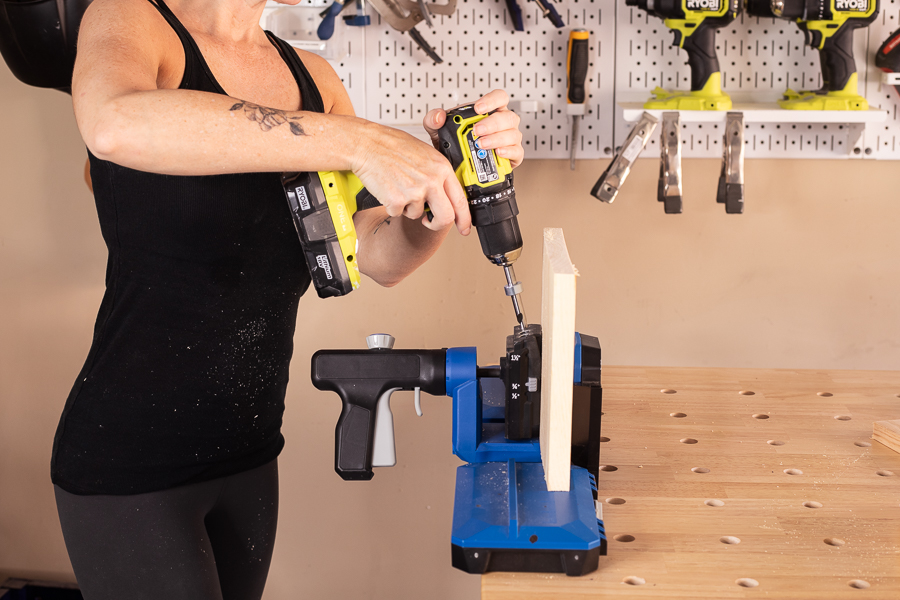
2 - Wywierć otwory kieszeniowe
Wywierć 3 otwory kieszeniowe wzdłuż jednego końca 8-calowych elementów 1x10. Jeśli chcesz dodać opcjonalne haczyki na dole wieszaka na kapelusze, dodaj również 3 otwory kieszeniowe wzdłuż równoległego końca jednej z tych 8-calowych desek.
3 - Piasek
Wygładź wszystko papierem ściernym.
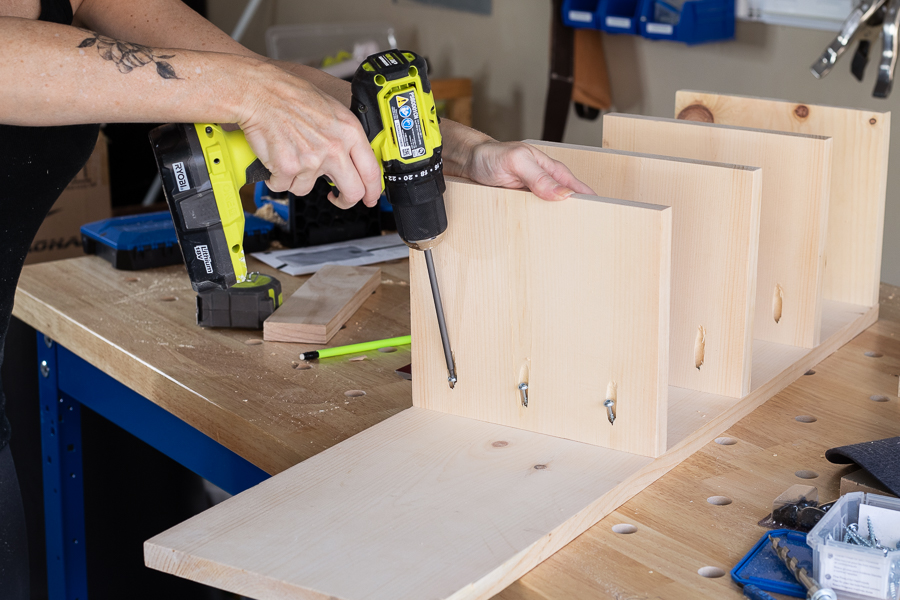
4 - Zamontuj półki
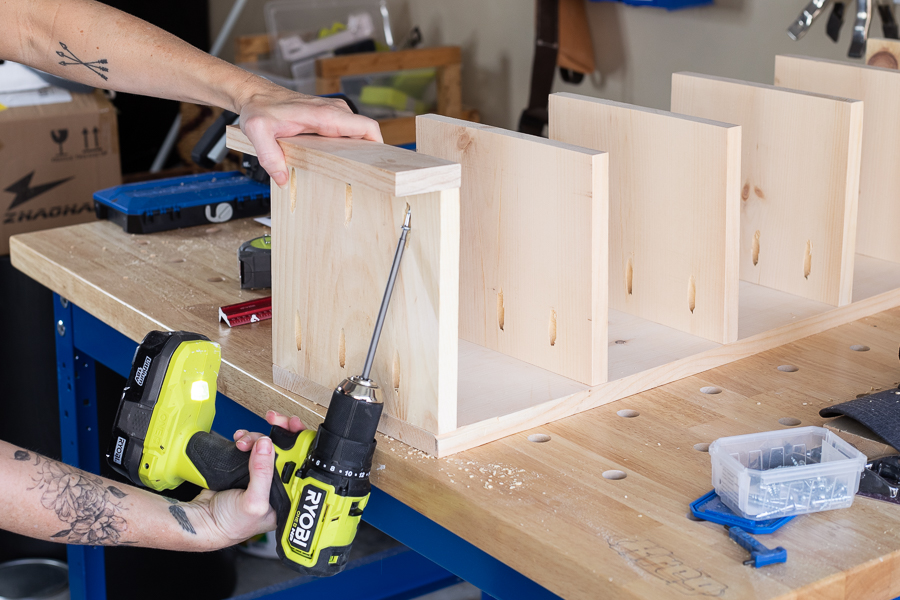
Użyj 1 1/4" długie wkręty kieszeniowe, przymocuj półki. Zacznij od przymocowania jednej z półek 8" długie deski wyrównaj do górnej krawędzi długiej deski 1x10, a następnie zmierz i zaznacz 6" poniżej, aby dodać kolejną półkę. Powtarzaj, aż każda półka zostanie przymocowana, każda z nich 6" oprócz.
5 - Dodaj dolną część
Użyj 1 3/4" wkręty z otworami kieszeniowymi, aby przymocować deskę 1x3 do przedniej części dolnej półki. (Opcjonalnie.) Dzięki temu będziesz mógł dodać haczyki, aby zapewnić sobie dodatkowe miejsce do przechowywania rzeczy, takich jak torby, parasole, klucze itp.
6 - Bejca lub farba
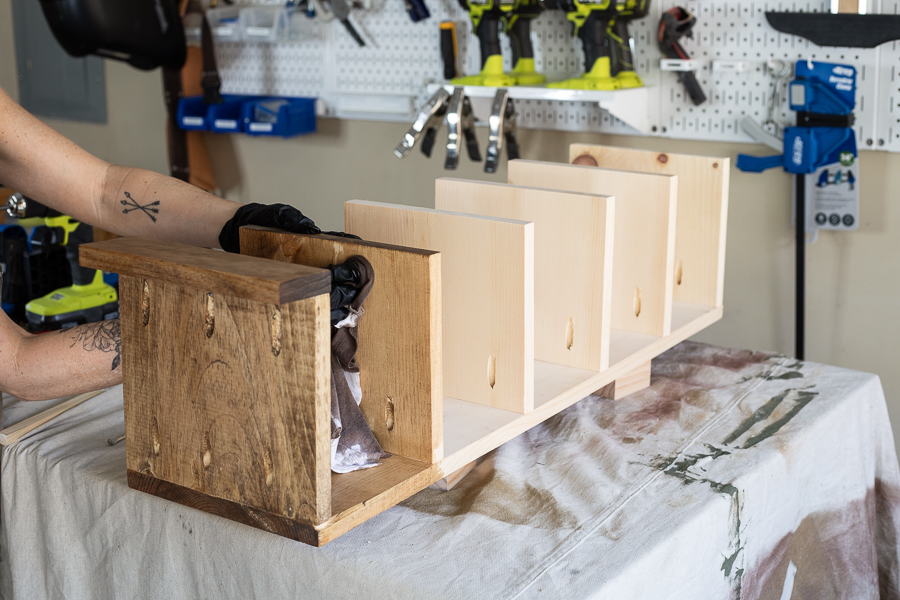
Gdy Twój wieszak na kapelusze jest już złożony, pomaluj go lub zabejcuj na wybrany kolor. Ja użyłam bejcy Early American.
7 - Dodaj osprzęt do zawieszania
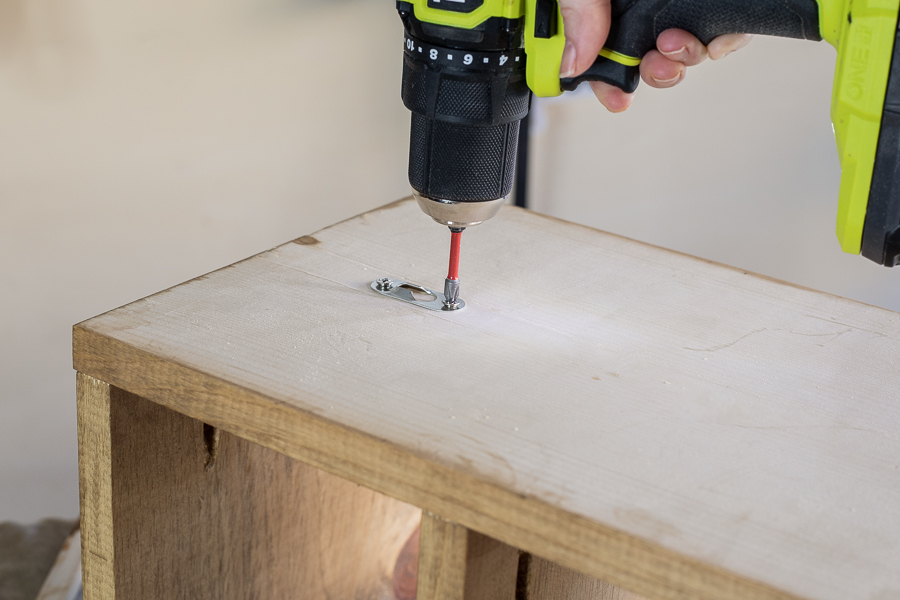
Przymocuj uchwyt z otworem na klucz z tyłu, a następnie zawieś go na ścianie za pomocą kołka ściennego i śruby.


Udział:
Plany DIY Book lub But Stack
Jak zbudować półkę buta - Plan szelfu do majsterkowania