Here’s a detailed Unique woodworking project plan By fivalo for creating a Modular Hexagon Shelving System, designed to be stackable and wall-mountable. The plan includes detailed dimensions in both inches and millimeters, materials list, tools required, and step-by-step instructions.
Project Overview

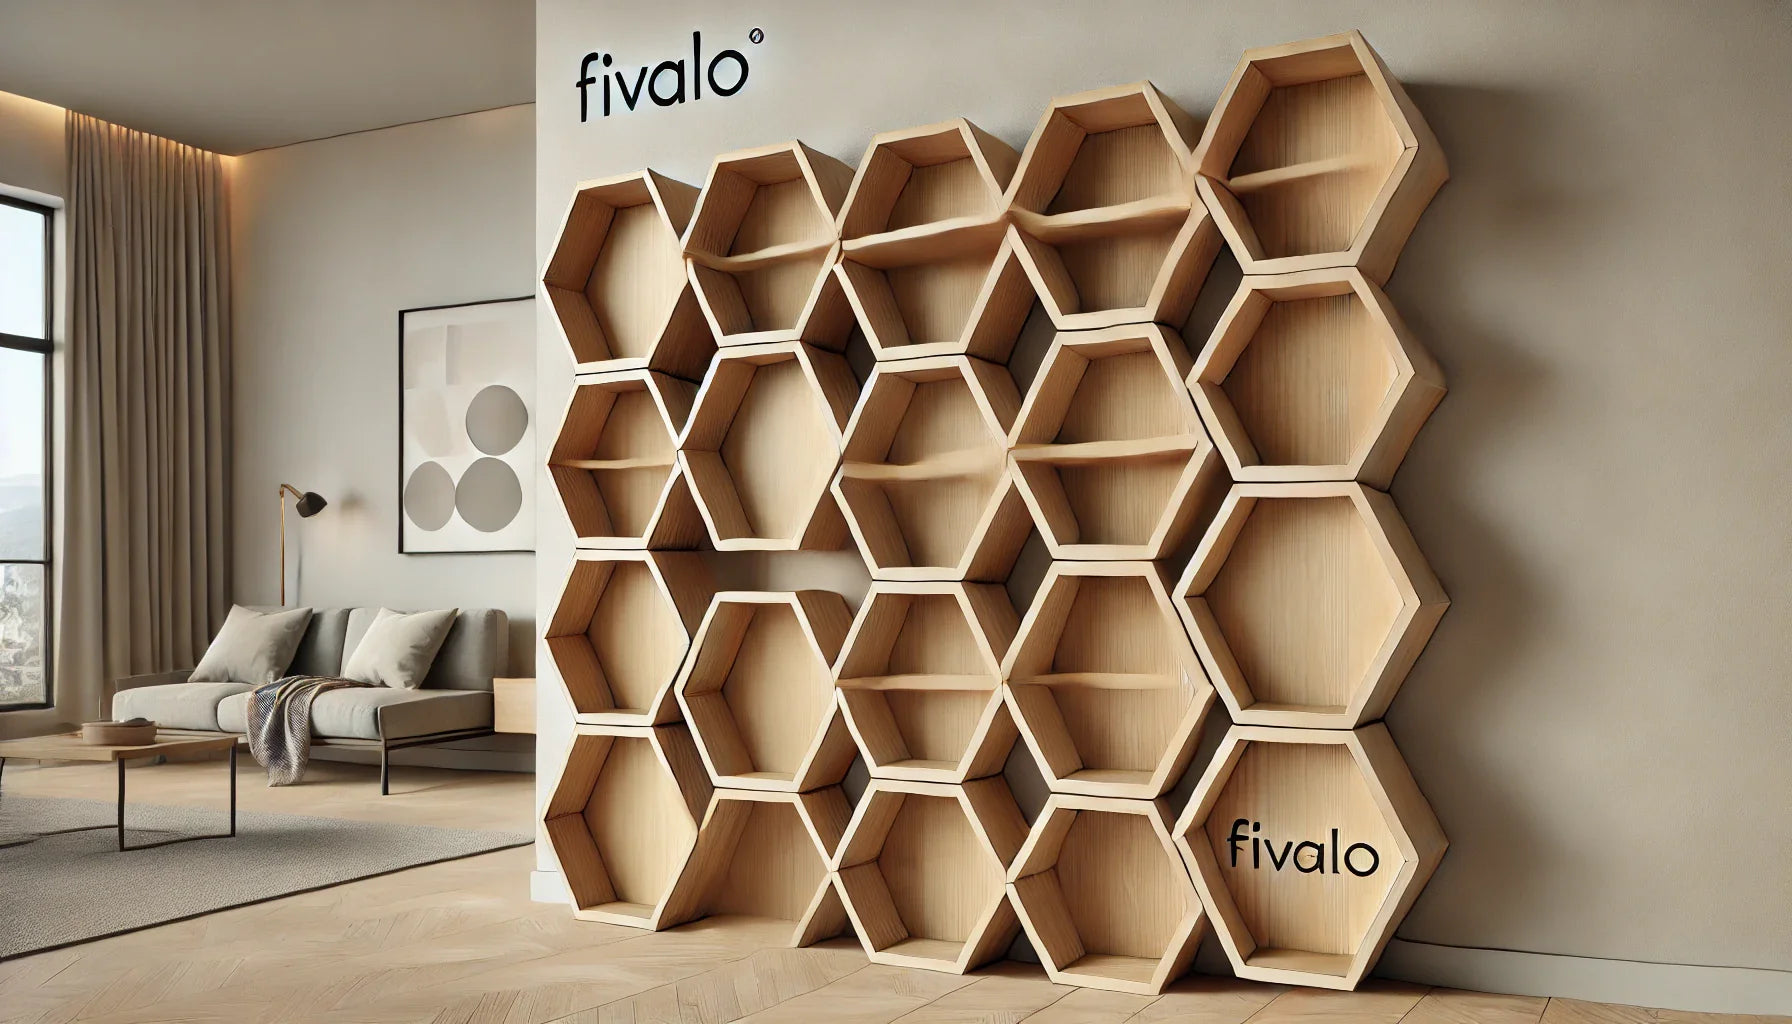
- Project Name: Modular Hexagon Shelving System
-
Design Features:
- Hexagon-shaped shelves
- Stackable and wall-mountable
- Customizable configuration for various spaces
-
Dimensions (Outer Hexagon):
- Side length: 7" (178 mm)
- Total width (flat-to-flat): 14" (355.6 mm)
- Depth: 6" (152.4 mm)
Materials Required

-
Wood:
- Plywood or solid wood boards (1/2" or 12 mm thick)
- Quantity: Approximately 1 sheet of 4' x 4' (1220 mm x 1220 mm) for 4-5 hexagons
- Wood Glue: Strong adhesive for joints
- Screws or Brad Nails: 1" (25 mm) for reinforcement
- Sandpaper: 120 and 220 grit
- Finish: Wood stain, paint, or clear coat (optional)
- Wall Mounting Hardware: L-brackets or French cleats
Tools Required

- Table saw or miter saw
- Drill with drill bits
- Wood clamps
- Measuring tape
- Protractor or angle gauge
- Sanding block or electric sander
- Paintbrush or cloth for finishing
Cutting Plan

Each hexagon consists of six identical pieces. The dimensions and angles are critical for a snug fit.
-
Cut Dimensions (per side):
- Length: 7" (178 mm) per side
- Width: 6" (152.4 mm)
- Miter Angle: 30° on each end
- Total pieces per hexagon: 6
-
Cut List (for one hexagon):
- Six pieces of 7" x 6" (178 mm x 152.4 mm) with 30° miter cuts on each end.
Step-by-Step Instructions

Step 1: Prepare Materials

- Mark and measure the wood using a measuring tape and pencil.
- Use the table saw or miter saw to cut six identical pieces for each hexagon. Ensure the miter cuts are angled correctly at 30° to form tight joints.
Step 2: Assemble the Hexagon
![]()
- Arrange the six pieces into a hexagon shape on a flat surface.
- Apply wood glue to the mitered edges.
- Clamp the joints together and allow the glue to dry for at least 2 hours. Ensure all angles align correctly.
Step 3: Reinforce the Joints

- Once the glue has dried, drill pilot holes near the joints and secure each corner with brad nails or screws for added strength. Be careful to avoid splitting the wood.
Step 4: Sanding

- Use 120-grit sandpaper to smooth out rough edges and surfaces.
- Follow with 220-grit sandpaper for a finer finish.
Step 5: Finishing
![]()
- Apply your desired wood stain, paint, or clear coat. Allow to dry completely before handling.
Optional Features

-
Stackable Design:
- Add small dowel pins or grooves on the top and bottom edges of the hexagons for secure stacking.
-
Wall Mounting:
- Attach L-brackets or French cleats to the back of each hexagon.
- Ensure proper alignment for seamless wall installation.
Tips and Considerations
- Use a protractor to double-check your angles during cutting.
- Test-fit the pieces before gluing to ensure they form a perfect hexagon.
- If using solid wood, consider the grain direction for aesthetics.
- Customize the depth of the shelves for specific storage needs.
Share:
Convertible Desk-to-Dining Table Woodworking Plan by Fivalo